Your first page, start to finish
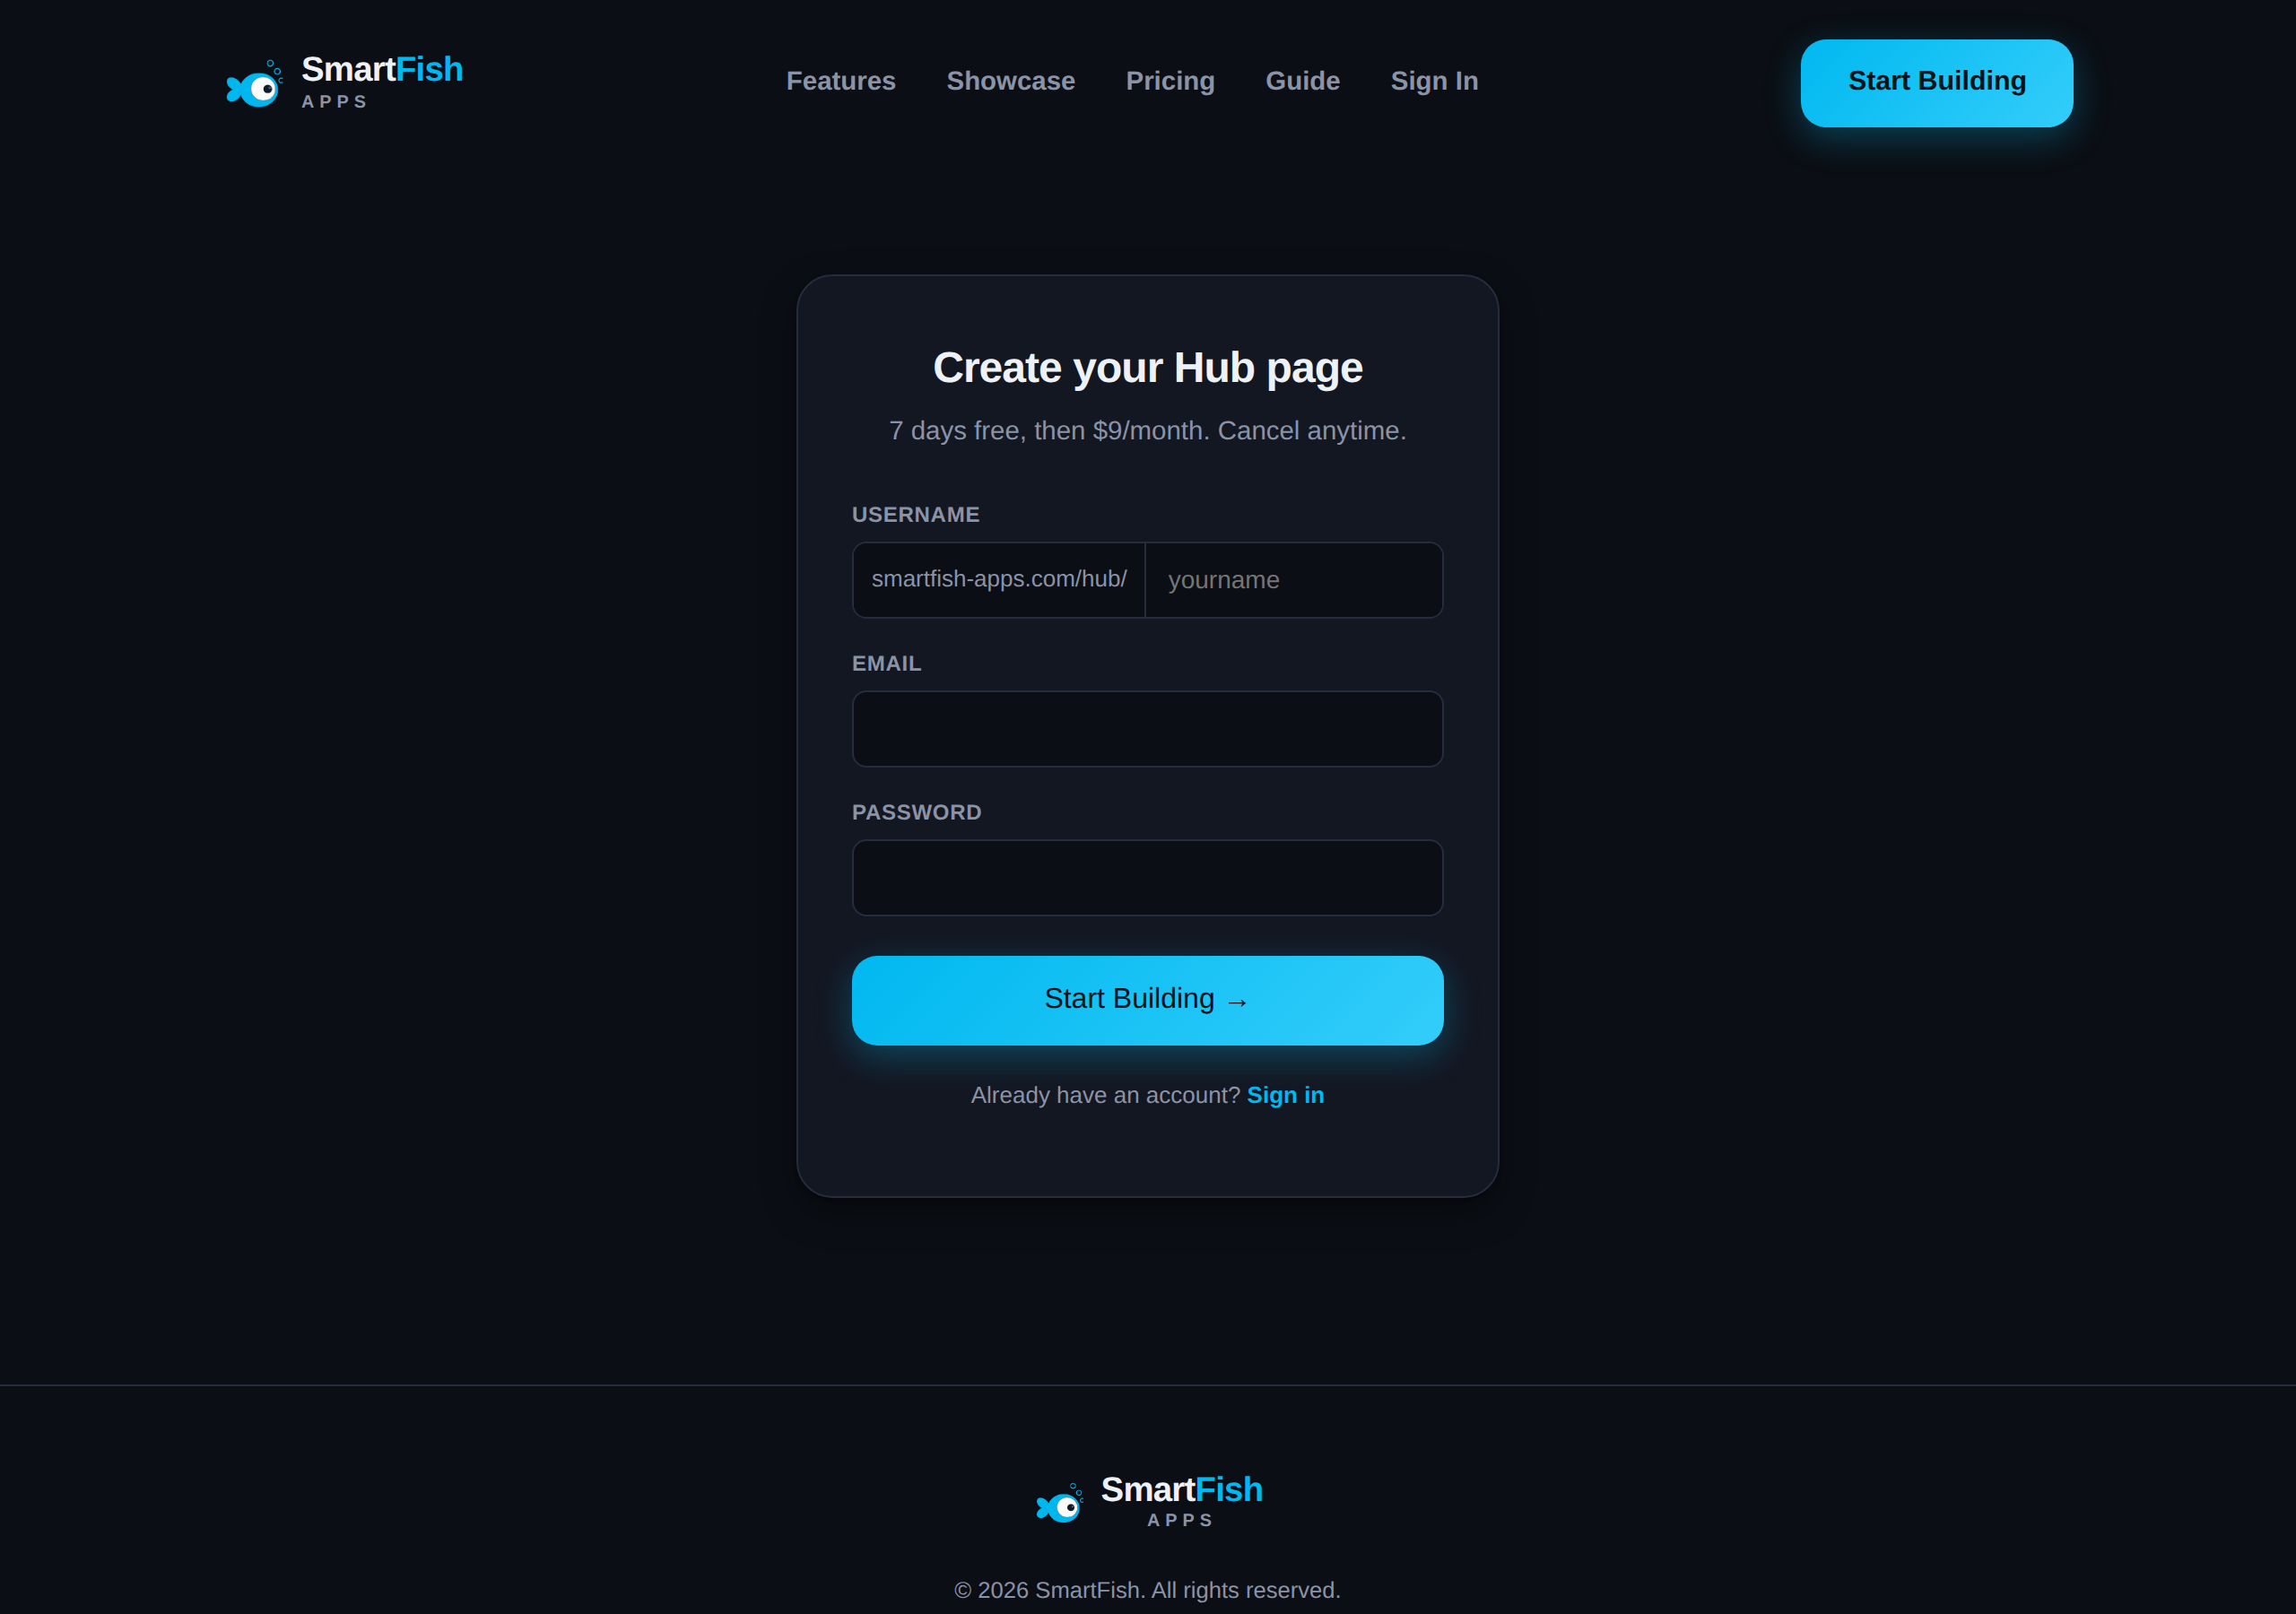
Sign up with three fields
At smartfish-apps.com/start - no preliminary steps, no long forms.
- 1
Pick a username - this becomes your page's address
- 2
Enter your email and password
- 3
Click Start Building - you're taken straight into the next step
7 free days, card required upfront
Right after signing up you land on a secure Stripe Checkout page.
- 1
Clearly shown: 7 days free, then $15/month starting on an exact date
- 2
Enter card details - you're not charged until the trial ends
- 3
Cancel anytime from the Billing page - no need to contact support
Try Smartfish Hub - Starter
7 days free
Then $15.00 per month starting Aug 29, 2026
Illustration - the one step in this guide we can't screenshot for real without creating an actual paid subscription.
The platform builds you a starting point
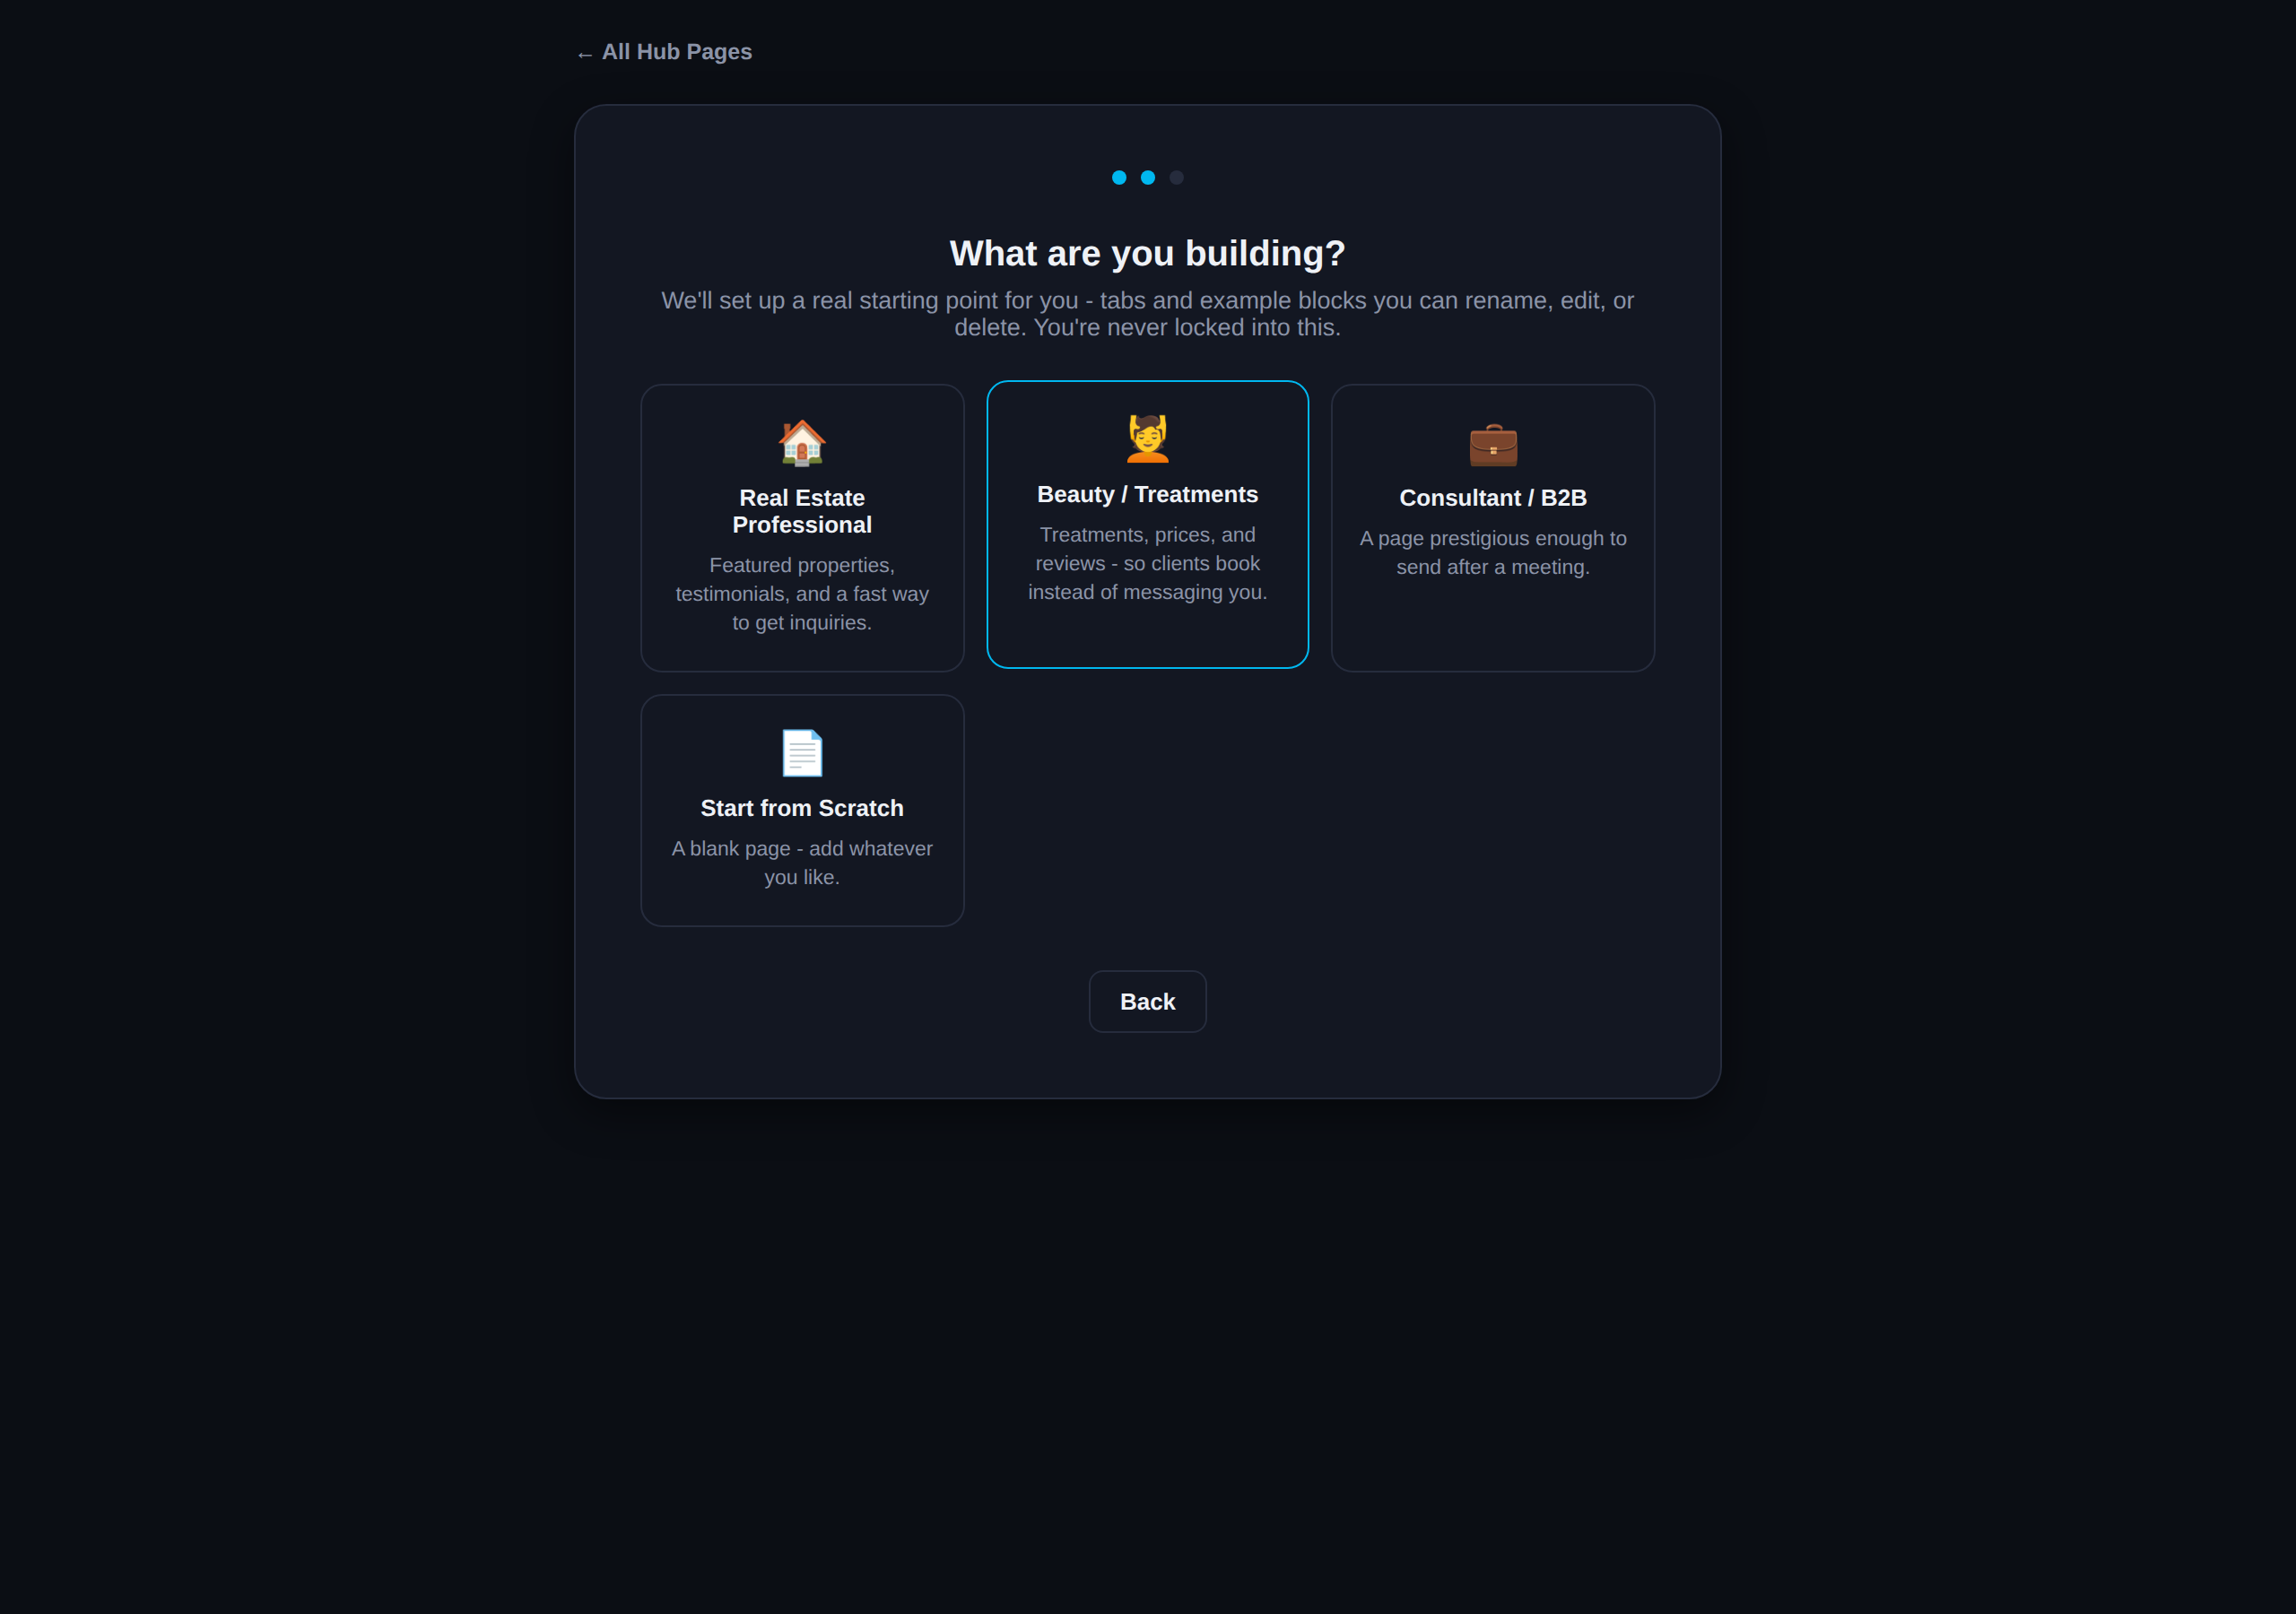
Pick your business type, and your page is created already stocked with matching tabs and blocks.
- 1
Choose a persona: Real Estate, Beauty/Coaching, Business Consulting, or General
- 2
The platform auto-creates tabs like "Services" and "Testimonials" with sample blocks
- 3
Delete, rename, or add anything from here - it's just a launch point
Edit without touching code
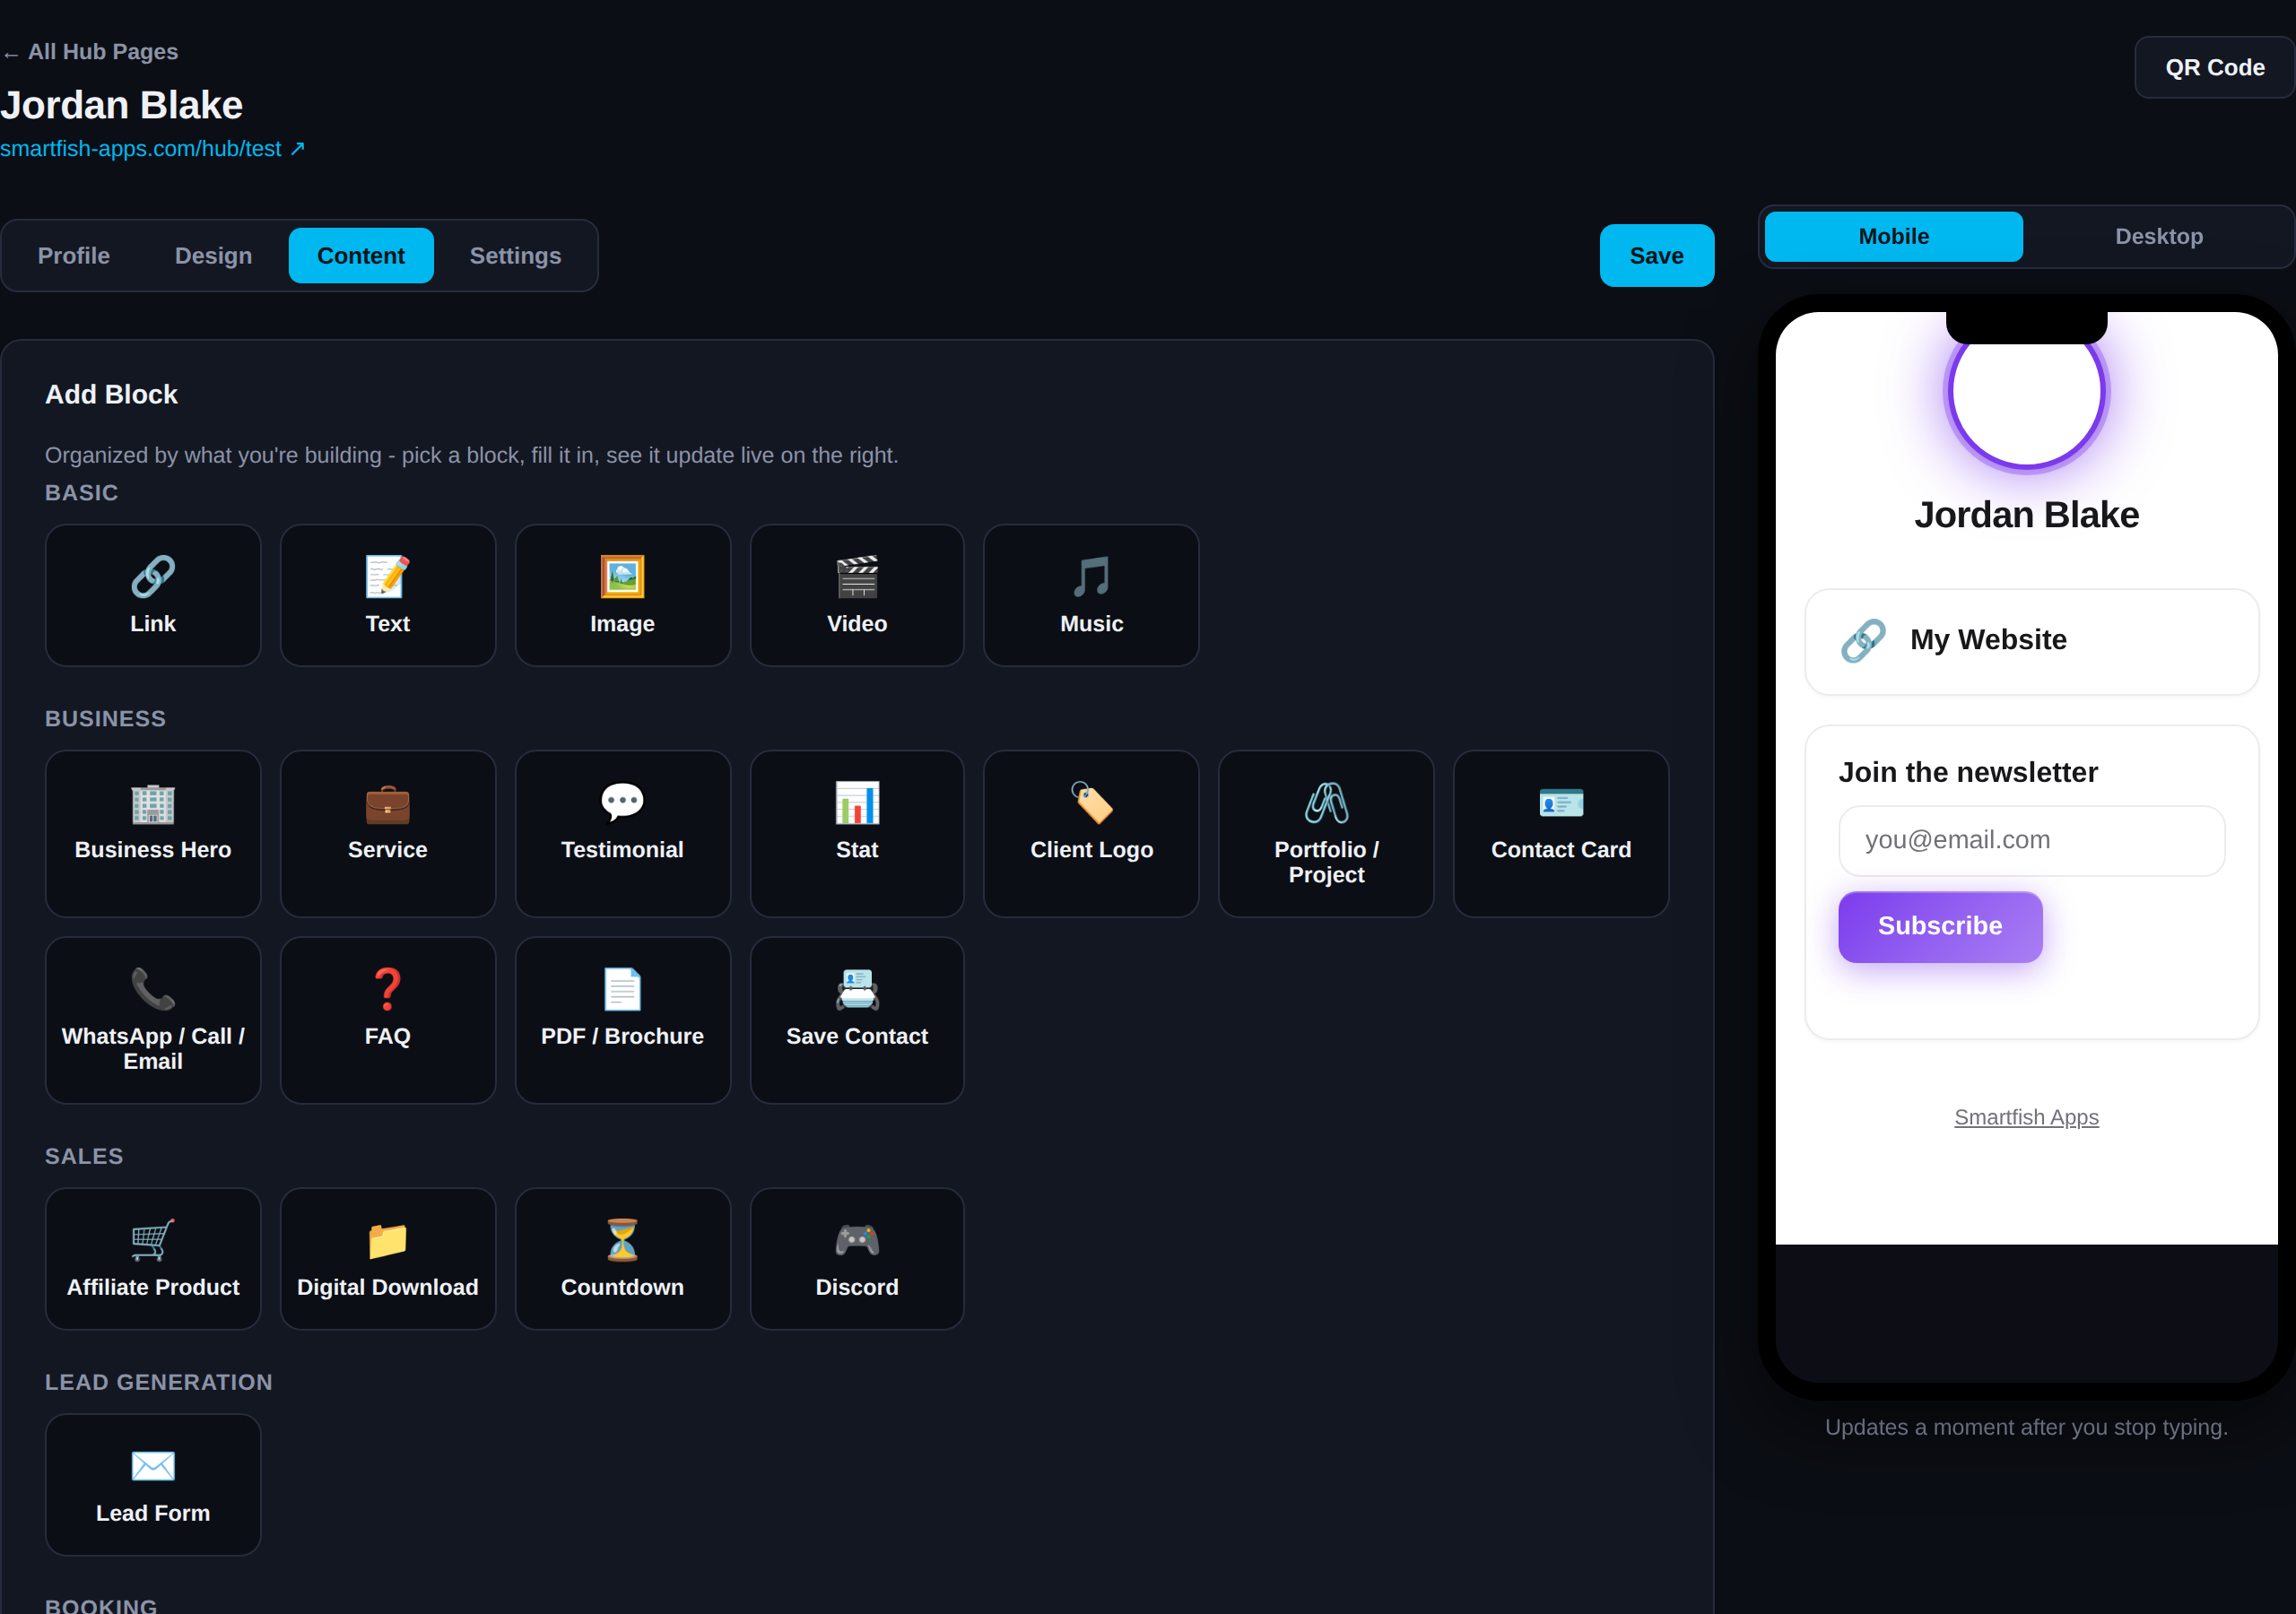
Every tab is a collection of blocks ("Tiles") - drag, edit, save. The live preview updates as you go.
- 1
Add a block from over 20 types - link, product, appointment, lead form, and more
- 2
Edit content, style, and advanced settings in one organized panel
- 3
Drag to reorder - the change saves immediately
A look that matches your brand
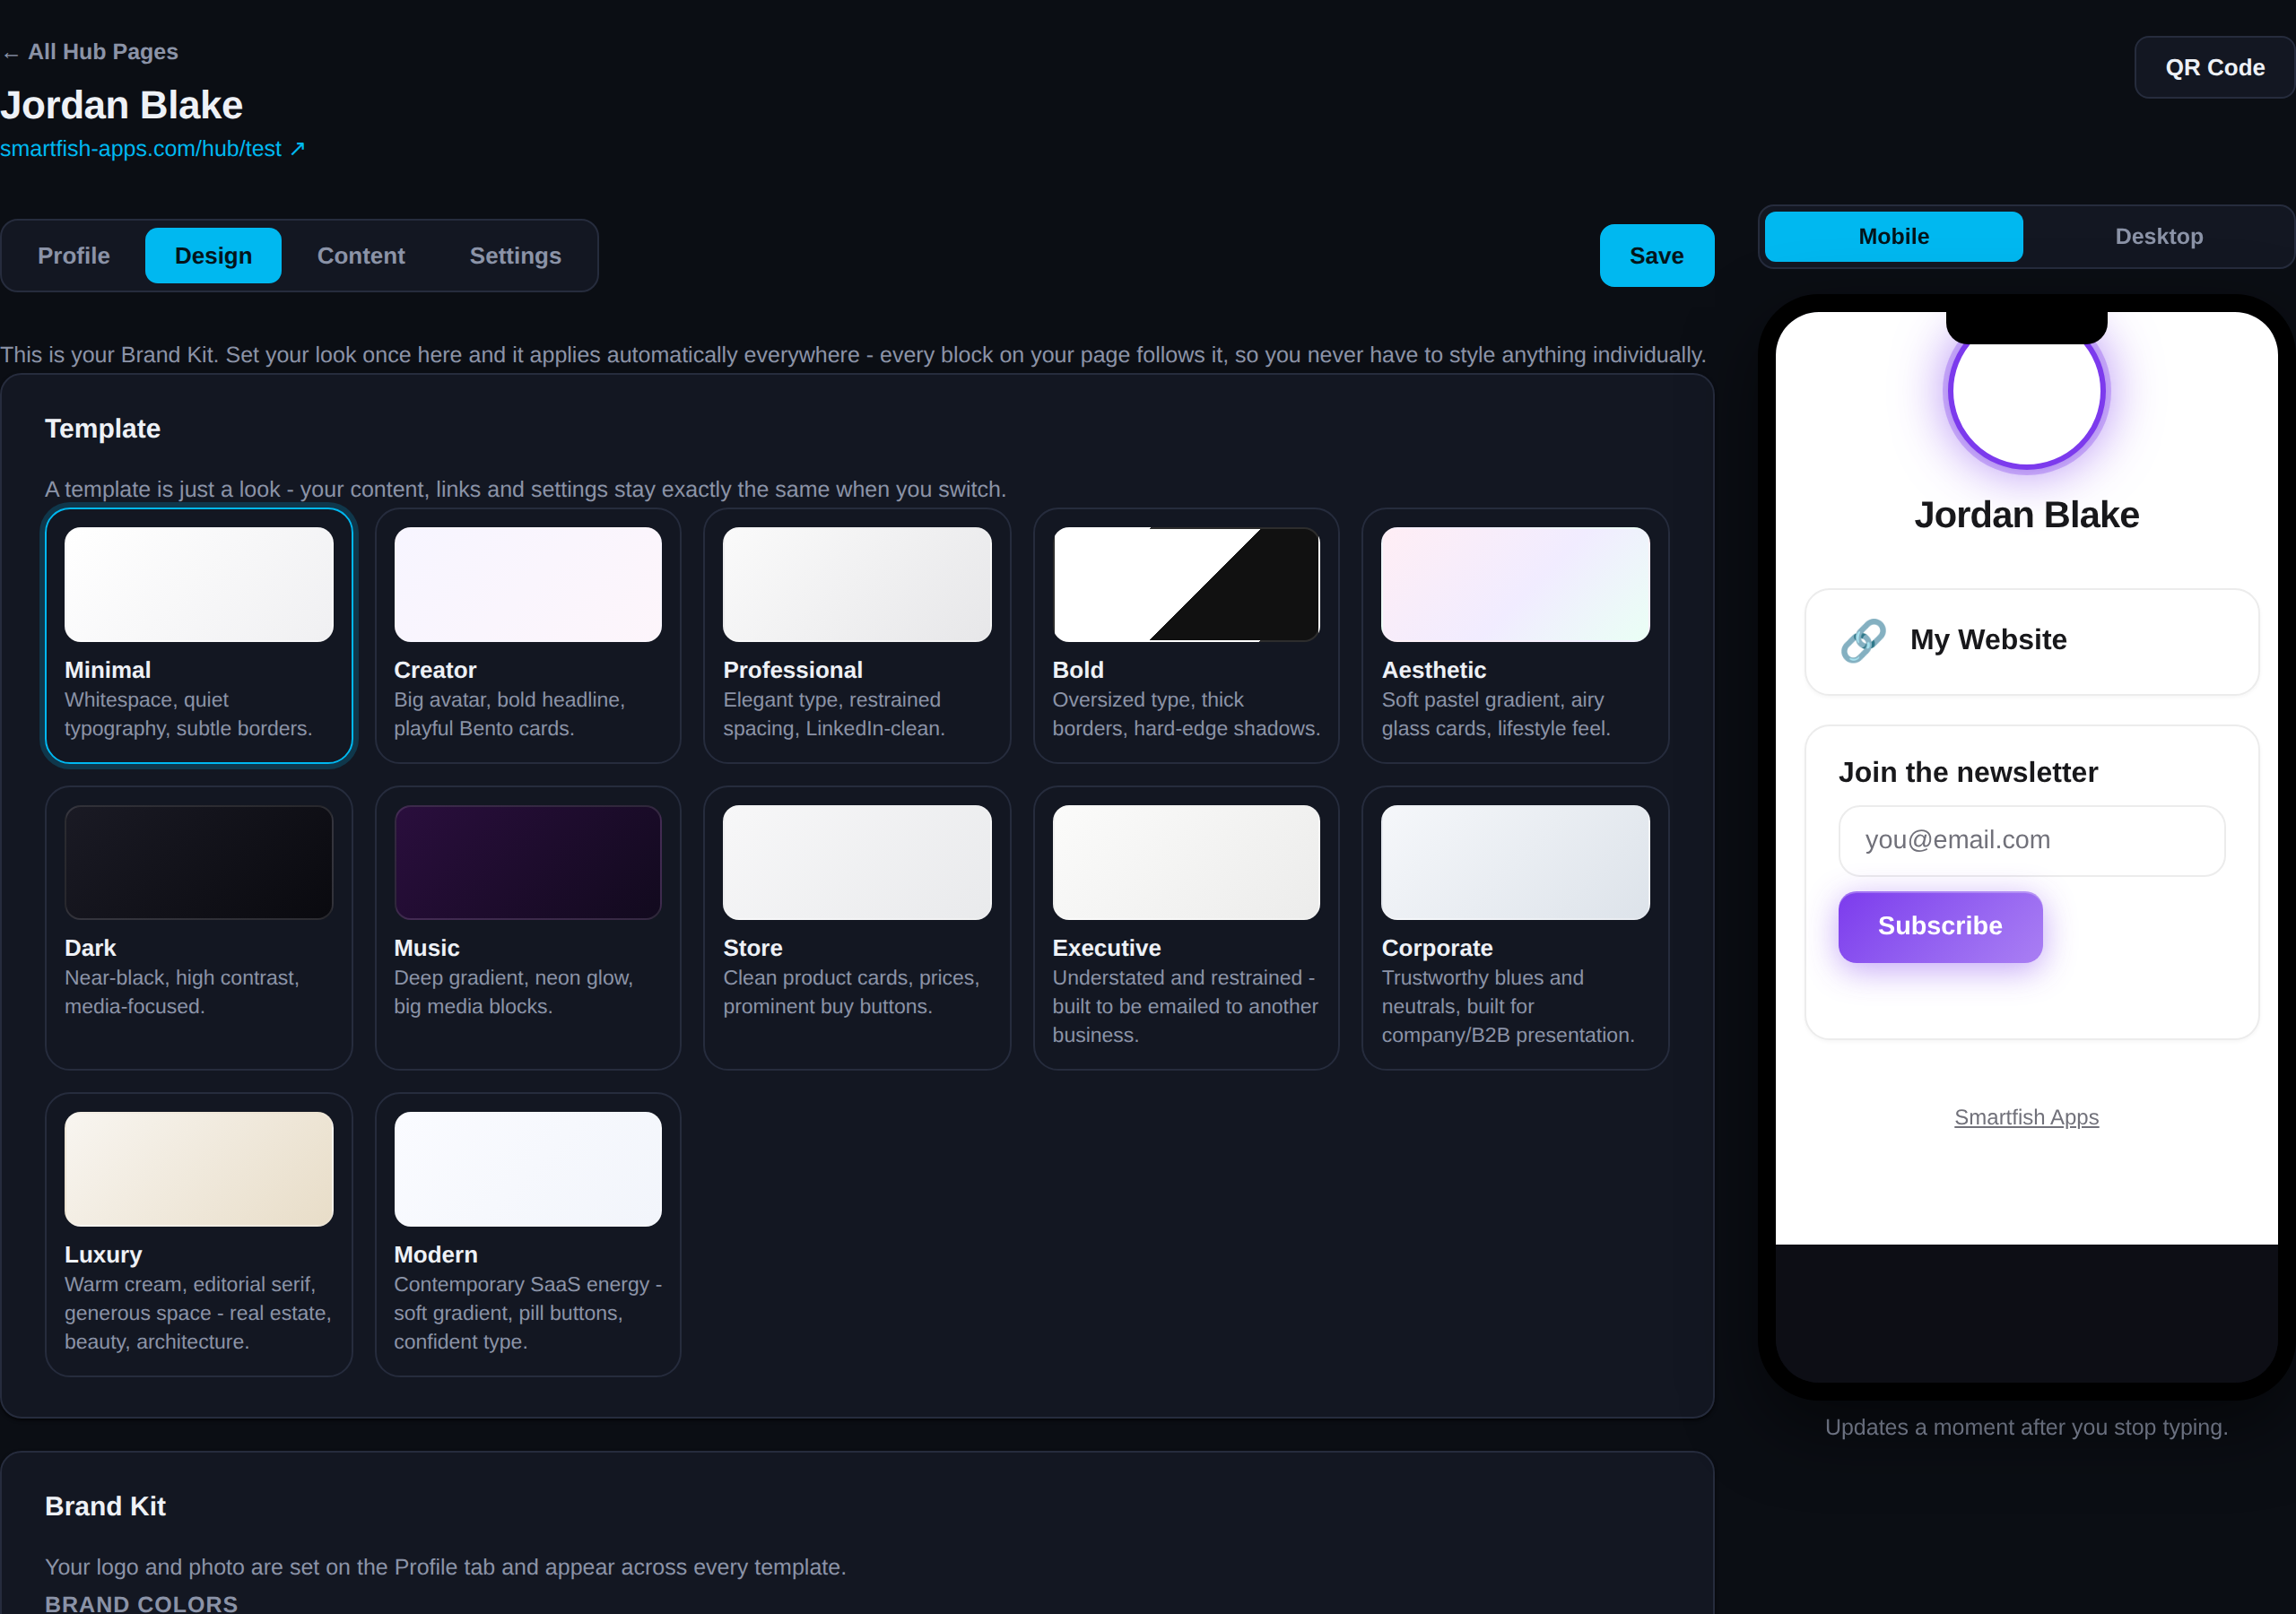
Ready-made design templates plus full control of color, font, and button shape - no CSS.
- 1
Pick a base template: Minimal, Creator, Professional, Bold, or a Business preset
- 2
Tune your accent color - it flows into every button, link, and icon
- 3
A live preview sits right next to the editor
Your page is already live - there's no separate publish step
There's no "Publish" button: every save updates the public URL instantly.
- 1
Your permanent address: smartfish-apps.com/hub/yourname
- 2
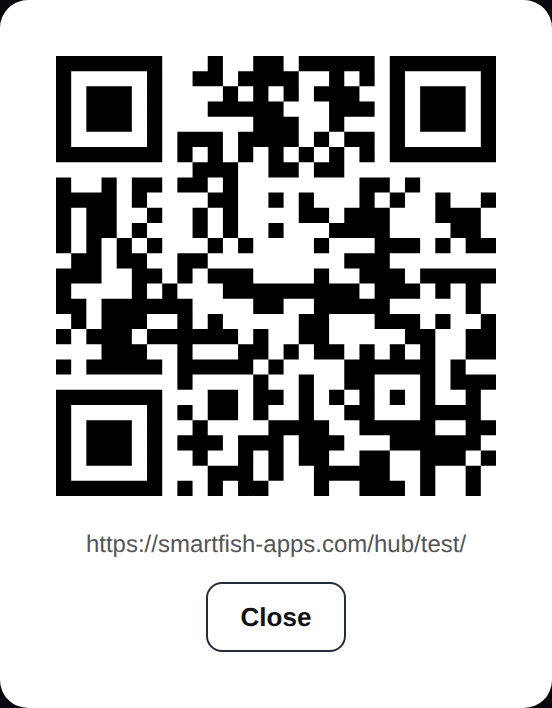
A QR code is generated automatically
- 3
Later, connect a custom domain (yourname.com) with automatic SSL
Sell directly from your page
The money goes straight to the creator's own Stripe account, never through Smartfish.
- 1
Connect a personal Stripe account - a guided flow run by Stripe itself
- 2
Add a Product, Subscription, or Paid Appointment block
- 3
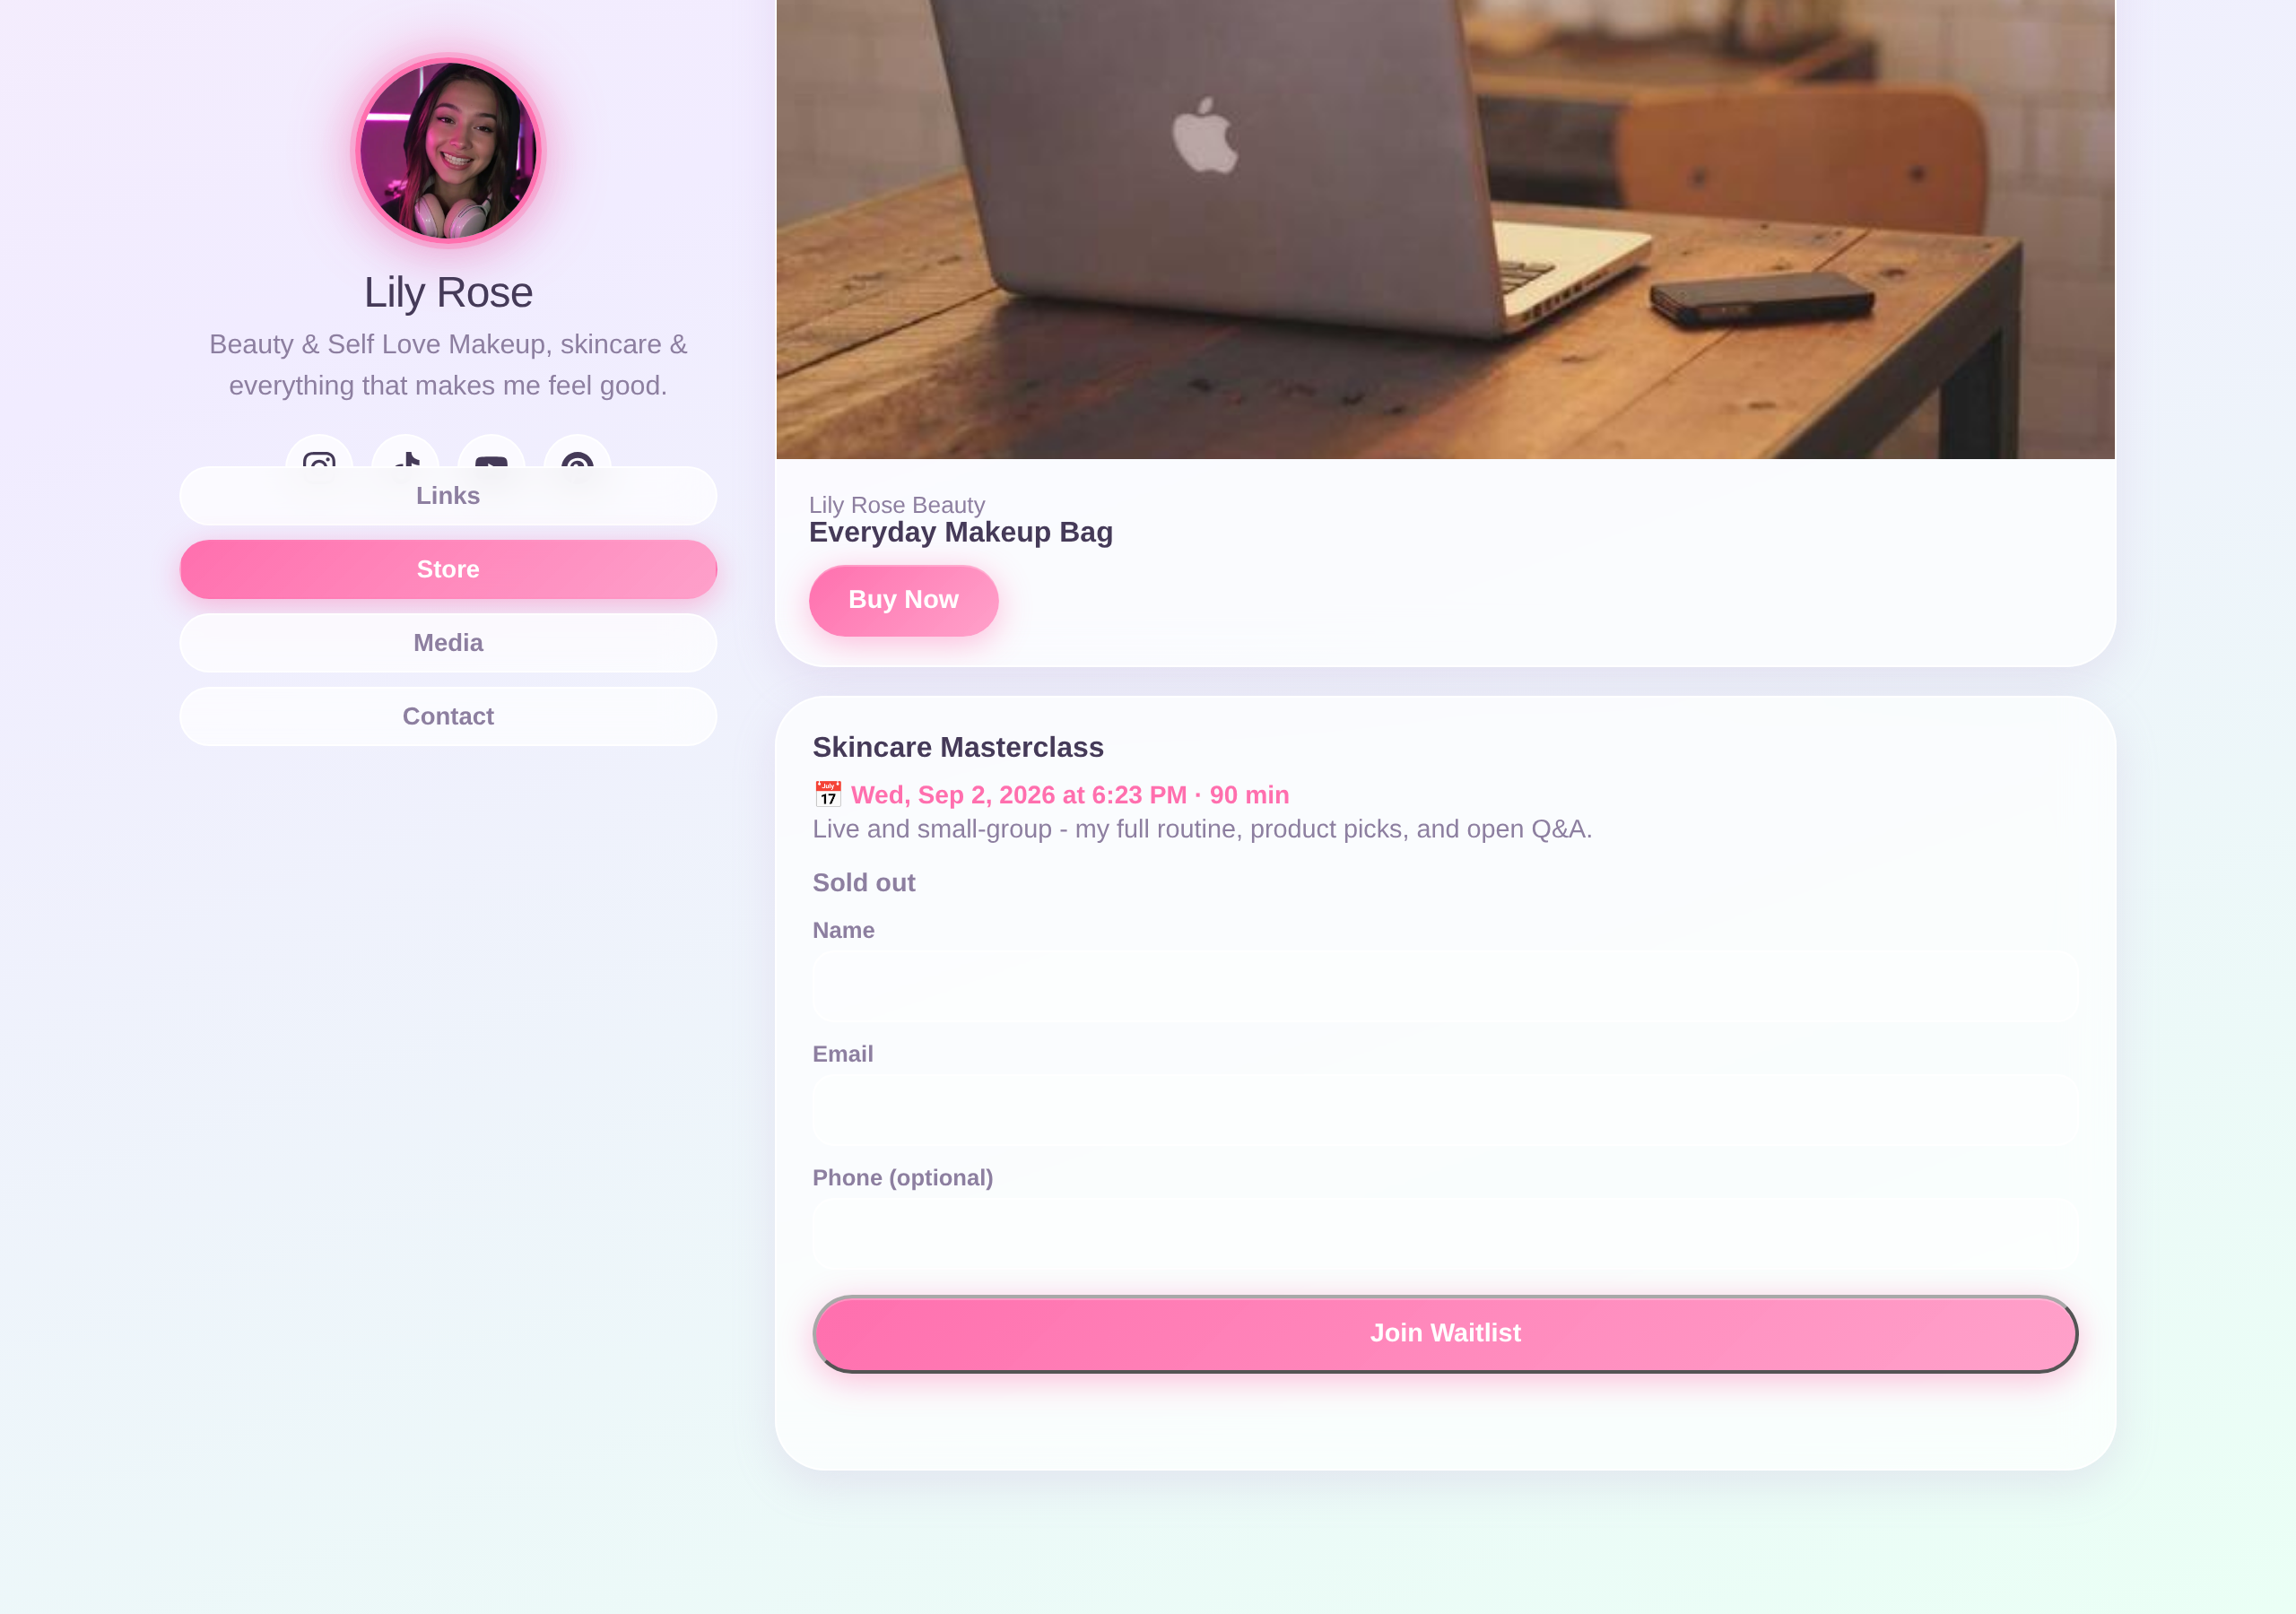
The buyer pays through a secure Checkout and access unlocks automatically - a sold-out class even offers a waitlist instead of a dead end
Your plan, fully in your control
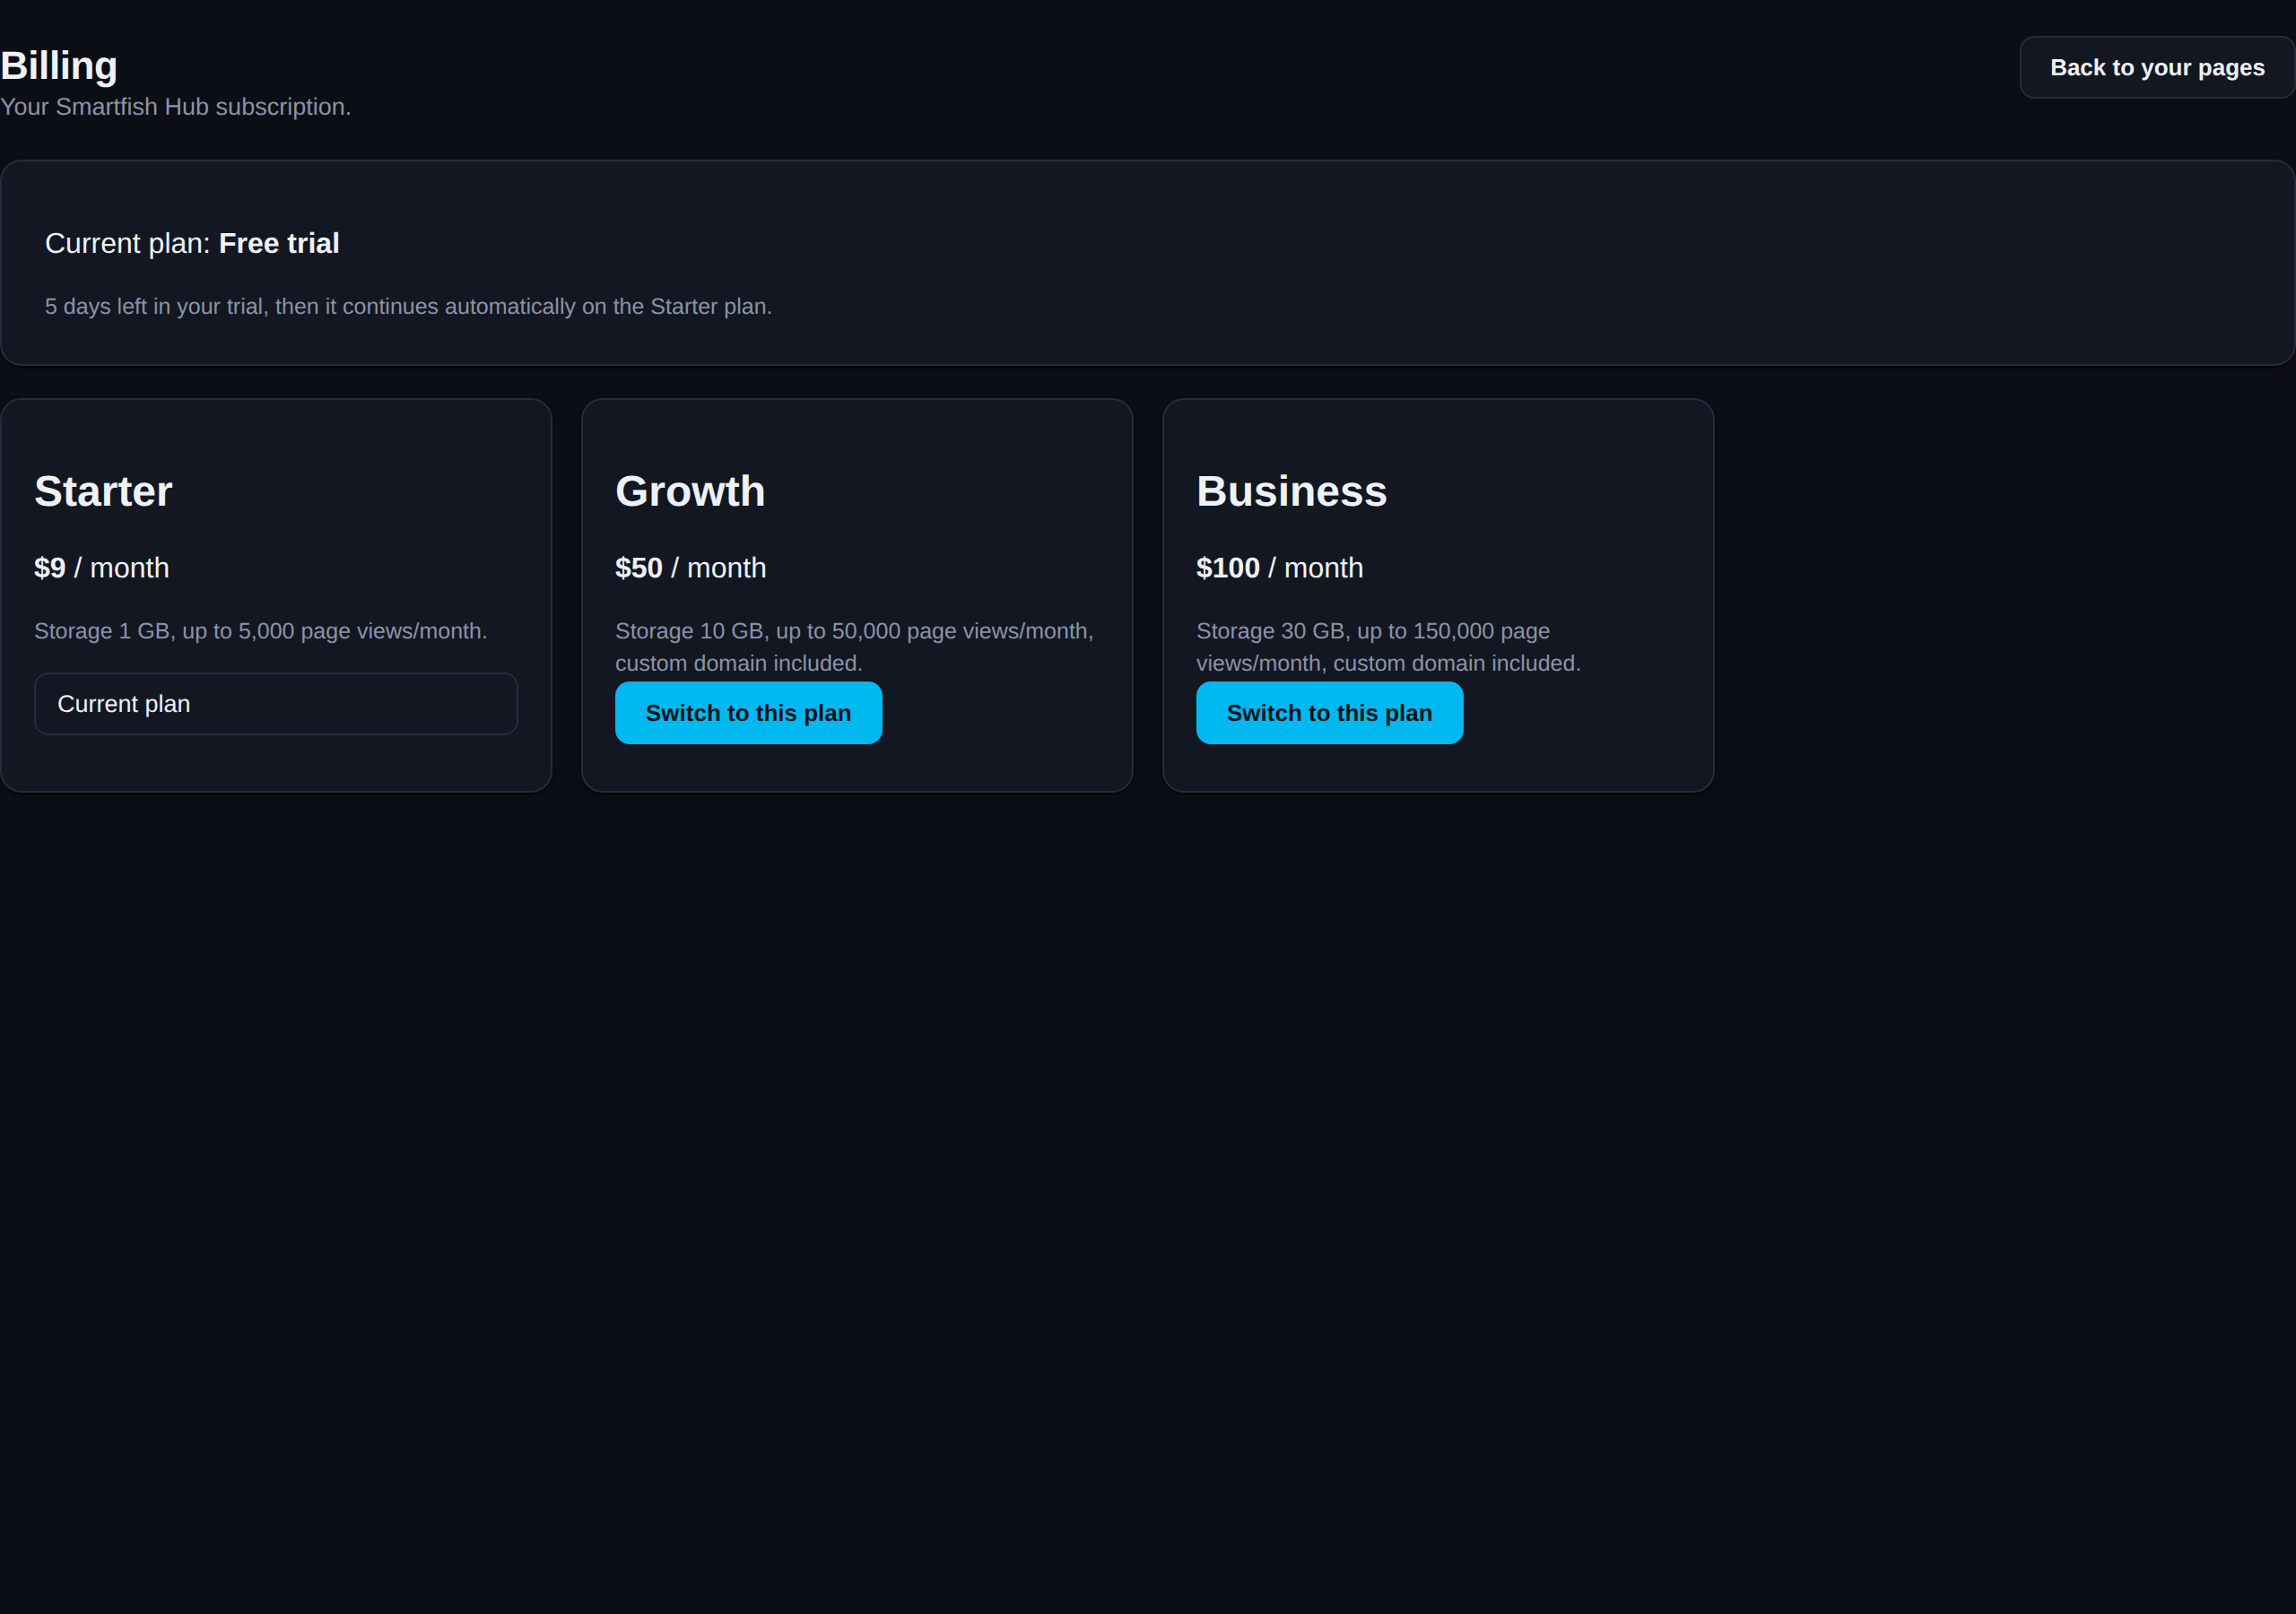
No need to contact support to upgrade, swap a card, or cancel.
- 1
3 fixed tiers, scaling with storage and page-view allowance
- 2
Switch tiers in one click
- 3
Update your card or cancel through Stripe's own secure portal
Your built-in CRM, in depth
Every lead who fills out a form on your page lands here automatically - a real pipeline, not just an inbox. This is the one feature worth walking through in full, since it's what replaces a separate CRM tool entirely.
A real pipeline, not a spreadsheet
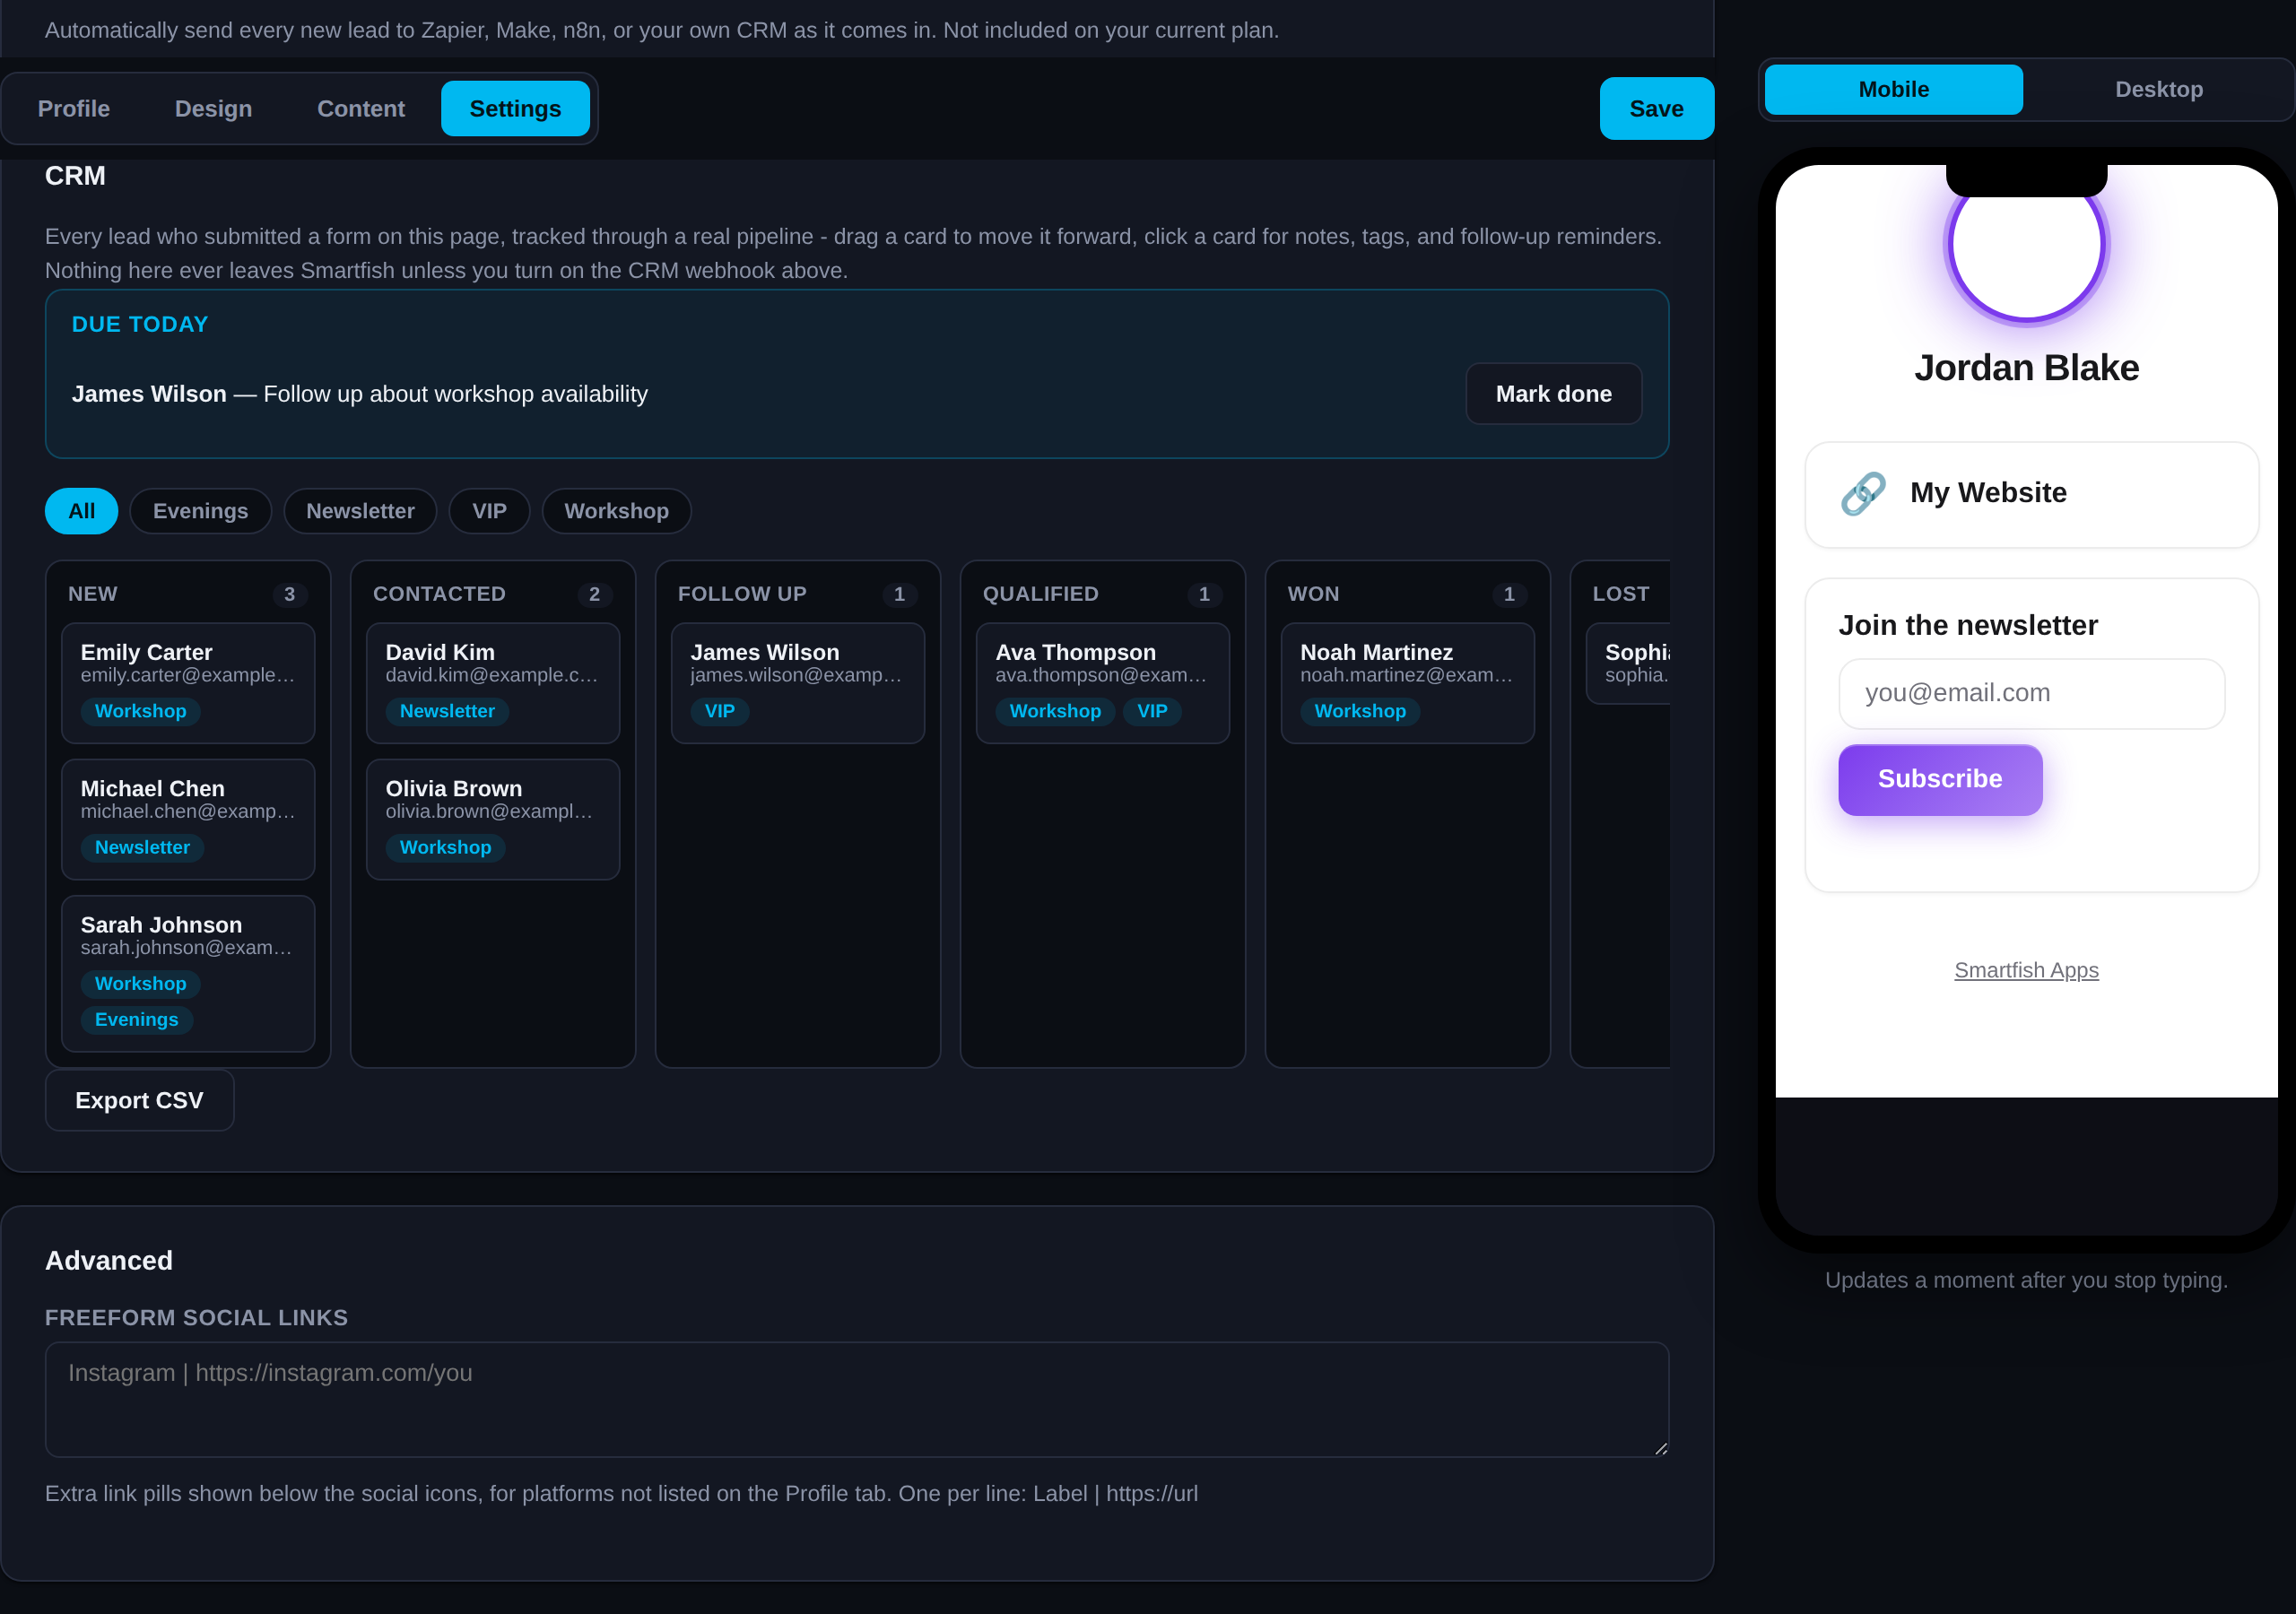
Every lead sits in one of 6 fixed stages - drag a card to move it forward as a real conversation progresses.
- 1
Open any Hub page, go to Settings, and scroll to CRM
- 2
Every lead who submitted a form on your page already appears in New
- 3
Drag a card to Contacted, Follow Up, Qualified, Won, or Lost as things move
Tags that build themselves
A lead form answer becomes a filterable tag automatically - no extra setup on your end.
- 1
Add a dropdown or checkbox field to your Lead Form block's Extra Fields
- 2
When a visitor picks "Reformer" or checks "Bite History," that becomes a tag on their card
- 3
Click a tag chip above the board to instantly filter to just that segment
Never lose a follow-up
Set a reminder on any lead and it surfaces on a "Due today" widget until you deal with it.
- 1
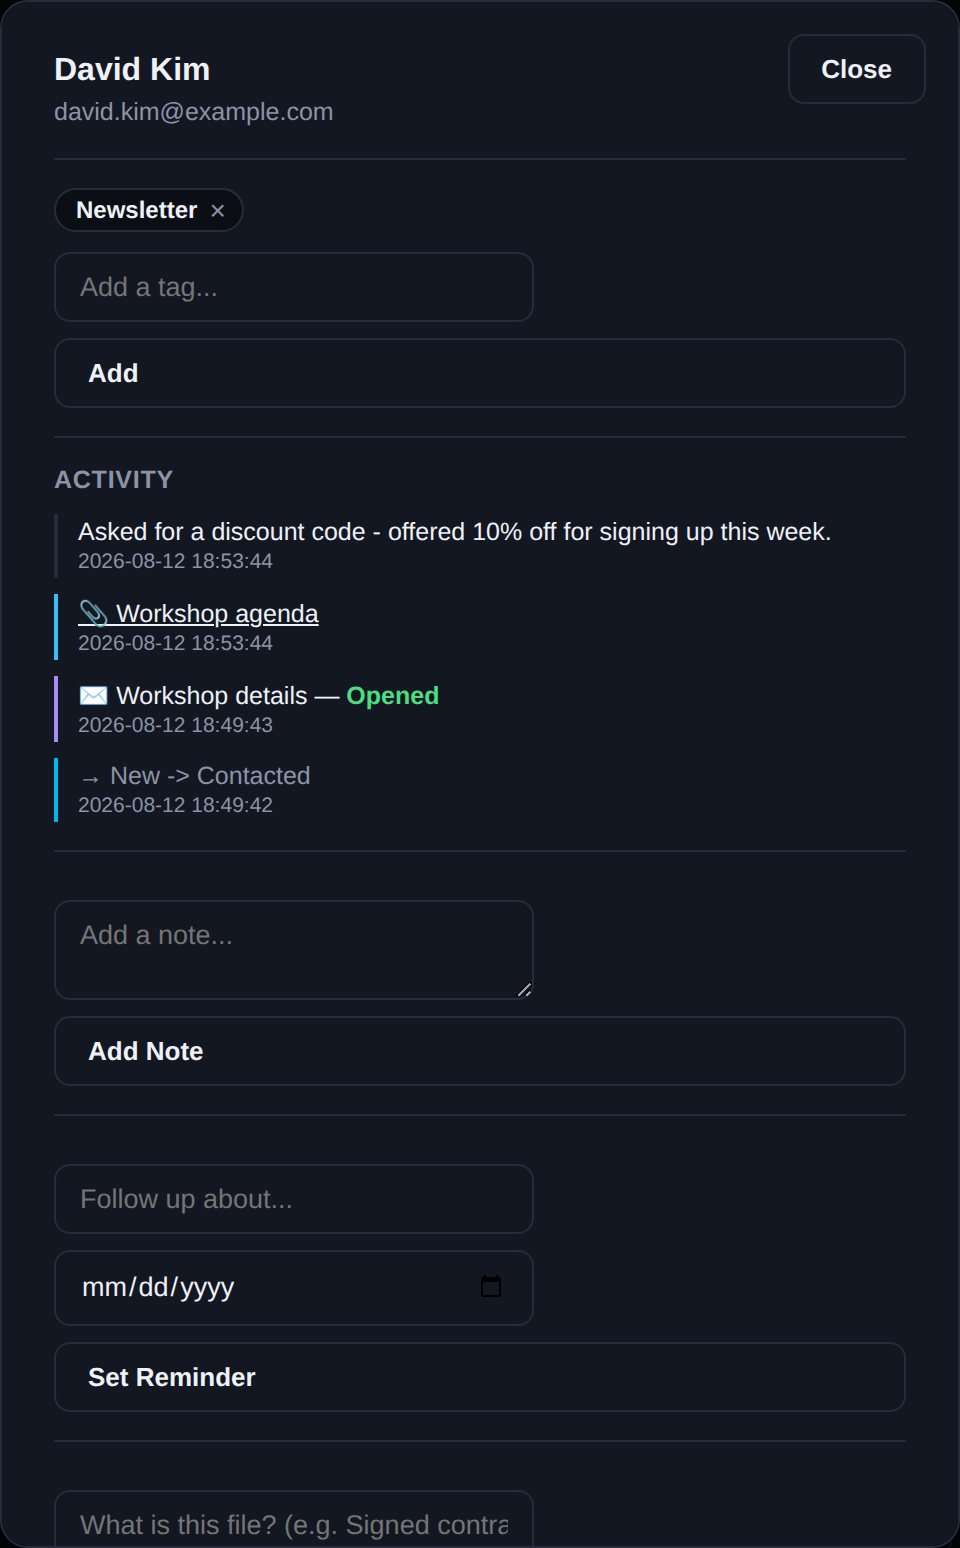
Open a lead's card and use "Set Reminder" - a short note plus a date
- 2
On that date, it appears at the top of your CRM until you mark it done
- 3
A completed reminder stays visible in that lead's timeline, so the history is never lost

One timeline: notes, files, and email
Everything about a lead lives in one place - including whether they actually read your last email.
- 1
Add a free-text note any time - it timestamps itself
- 2
Attach a file - a signed contract, a reference photo - straight to their card
- 3
Send them an email without leaving the CRM - you'll see the moment they open it
Every feature, and how to use it
Content & Design
Custom Profile Header
Under Profile, set your avatar, an optional cover image, display name, and bio. Toggle the verified badge on if you want the small checkmark next to your name.
Flexible Tabs
Under Content, click "Add Tab" to split your page into pages like "Services" or "Shop." Drag tab chips to reorder them, click a name to rename it, or use the tab's menu to duplicate or hide it. With no tabs at all, everything shows on one page.
Links & Image Cards
Add a Link block for a simple icon + URL row, or an Image + Text Card when a link deserves a full photo and caption. Both support an optional button label and can sit in any tab, in any order.
Media Embeds
Add a Video/Music Embed block and paste a Spotify track/playlist or YouTube link - it plays right on your page instead of just linking out.
Business Content Blocks
Under Business in the Add Block menu: Service, Testimonial, Stat, Client Logo, Portfolio, Contact Card, FAQ, and more - the sections a real company site needs, each filled in from a simple content form.
Business Design Presets
Under Design → Template, switch to Executive, Corporate, or Luxury for a boardroom-ready look in one click - your accent color and logo still carry through everywhere.
Smart Onboarding
Choosing Real Estate, Beauty, or Consulting when you create a page pre-builds your tabs and starter blocks - delete or rename anything you don't need, it's just a starting point.
Countdown Timer
Add a Countdown block and set a target date/time - it counts down live in each visitor's own timezone, and switches to your "expired" text automatically once it hits zero. Optionally add an "Add to Calendar" button.
Selling & Booking
Sell Products
Add a Product block, set a price, and choose Digital (upload the file - it emails automatically on purchase) or Physical (you'll get the shipping address on the order). No cart, one-click checkout.
Paid Appointments
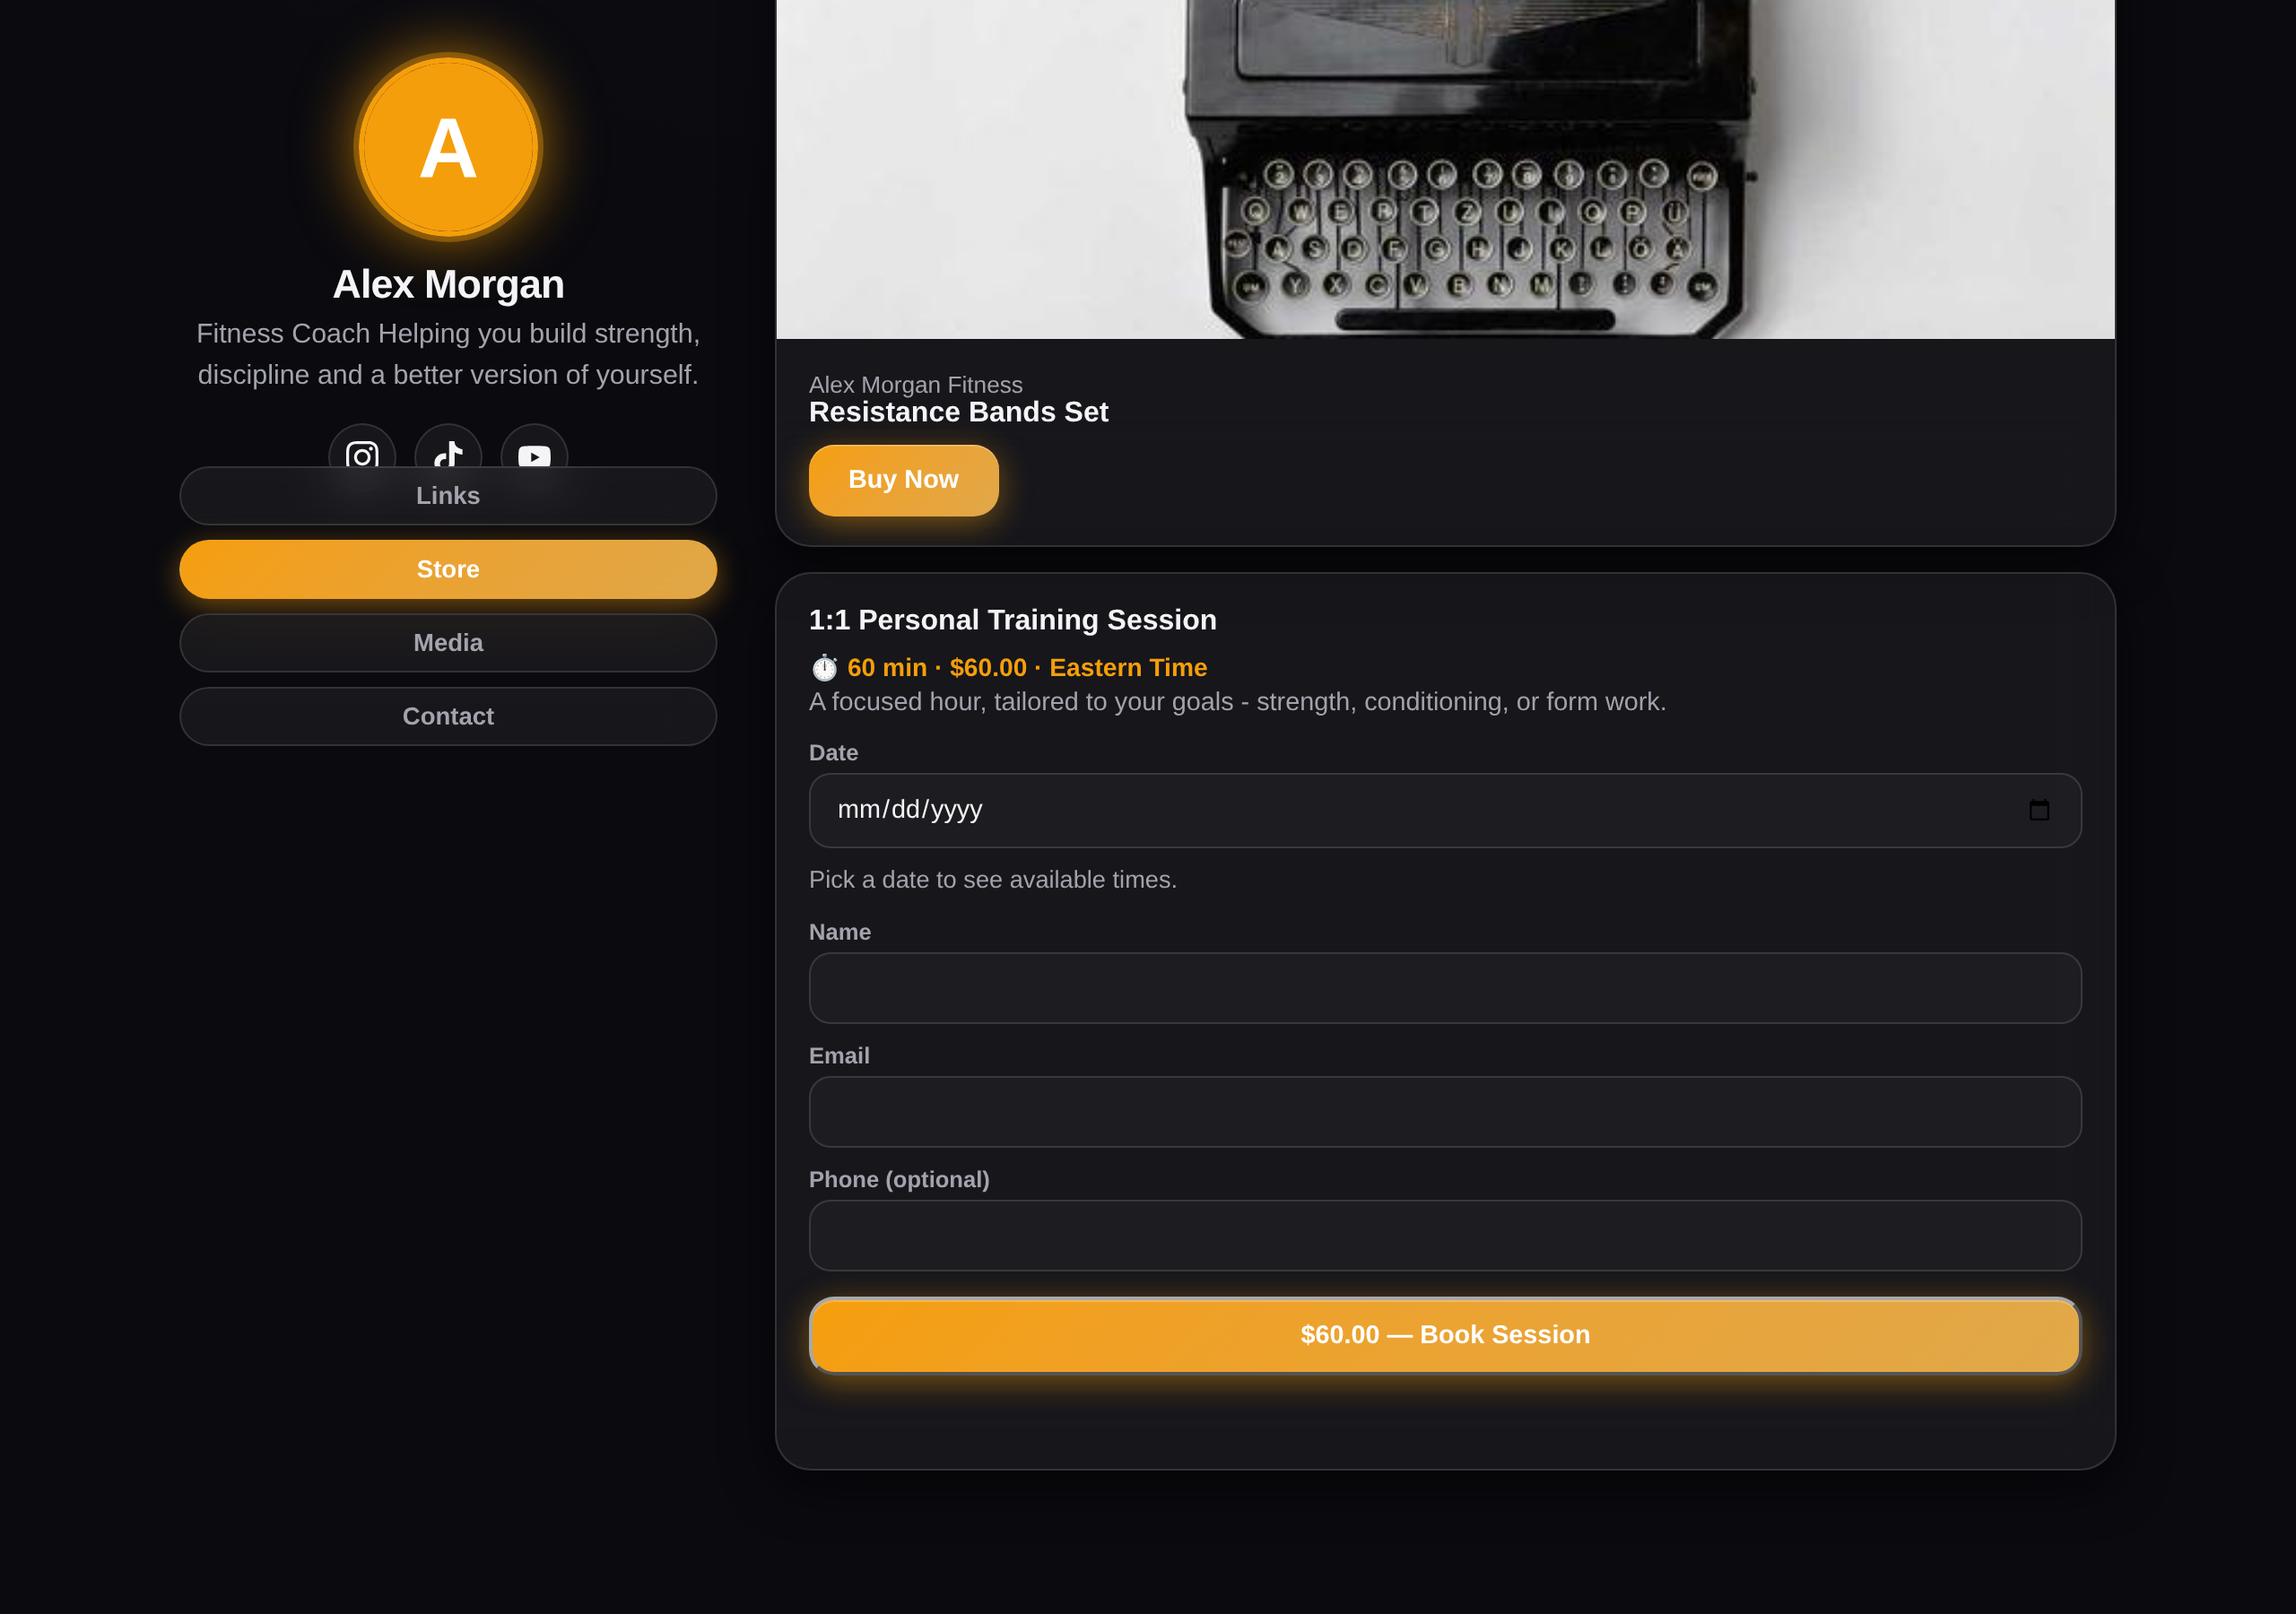
Add a Single Appointment block, set your weekly availability as simple text lines ("Mon 09:00-17:00"), a price, and a duration. Visitors pick a real open slot and pay to lock it in - double-booking isn't possible.
Group Class Booking
Add a Class/Group Event block with a date, price, and seat cap. Sales stop automatically once it's full, and sold-out classes offer visitors a waitlist instead of a dead end - see Automated Waitlists.
Class Packs (Credits)
Add a Class Pack block - set how many credits it includes and a price ("10 credits for $200"). On any Class or Appointment block, set "Class Pack Credits" to a number above 0 to let buyers with enough credits book with credits instead of paying again.
Automated Waitlists
Nothing to turn on - it's automatic on every sold-out Class block. When you cancel a booking (from Settings → Orders), the next person on the waitlist is emailed a link to grab the seat, held just for them for a couple of hours before it moves to the next person.
Orders & Cancellations
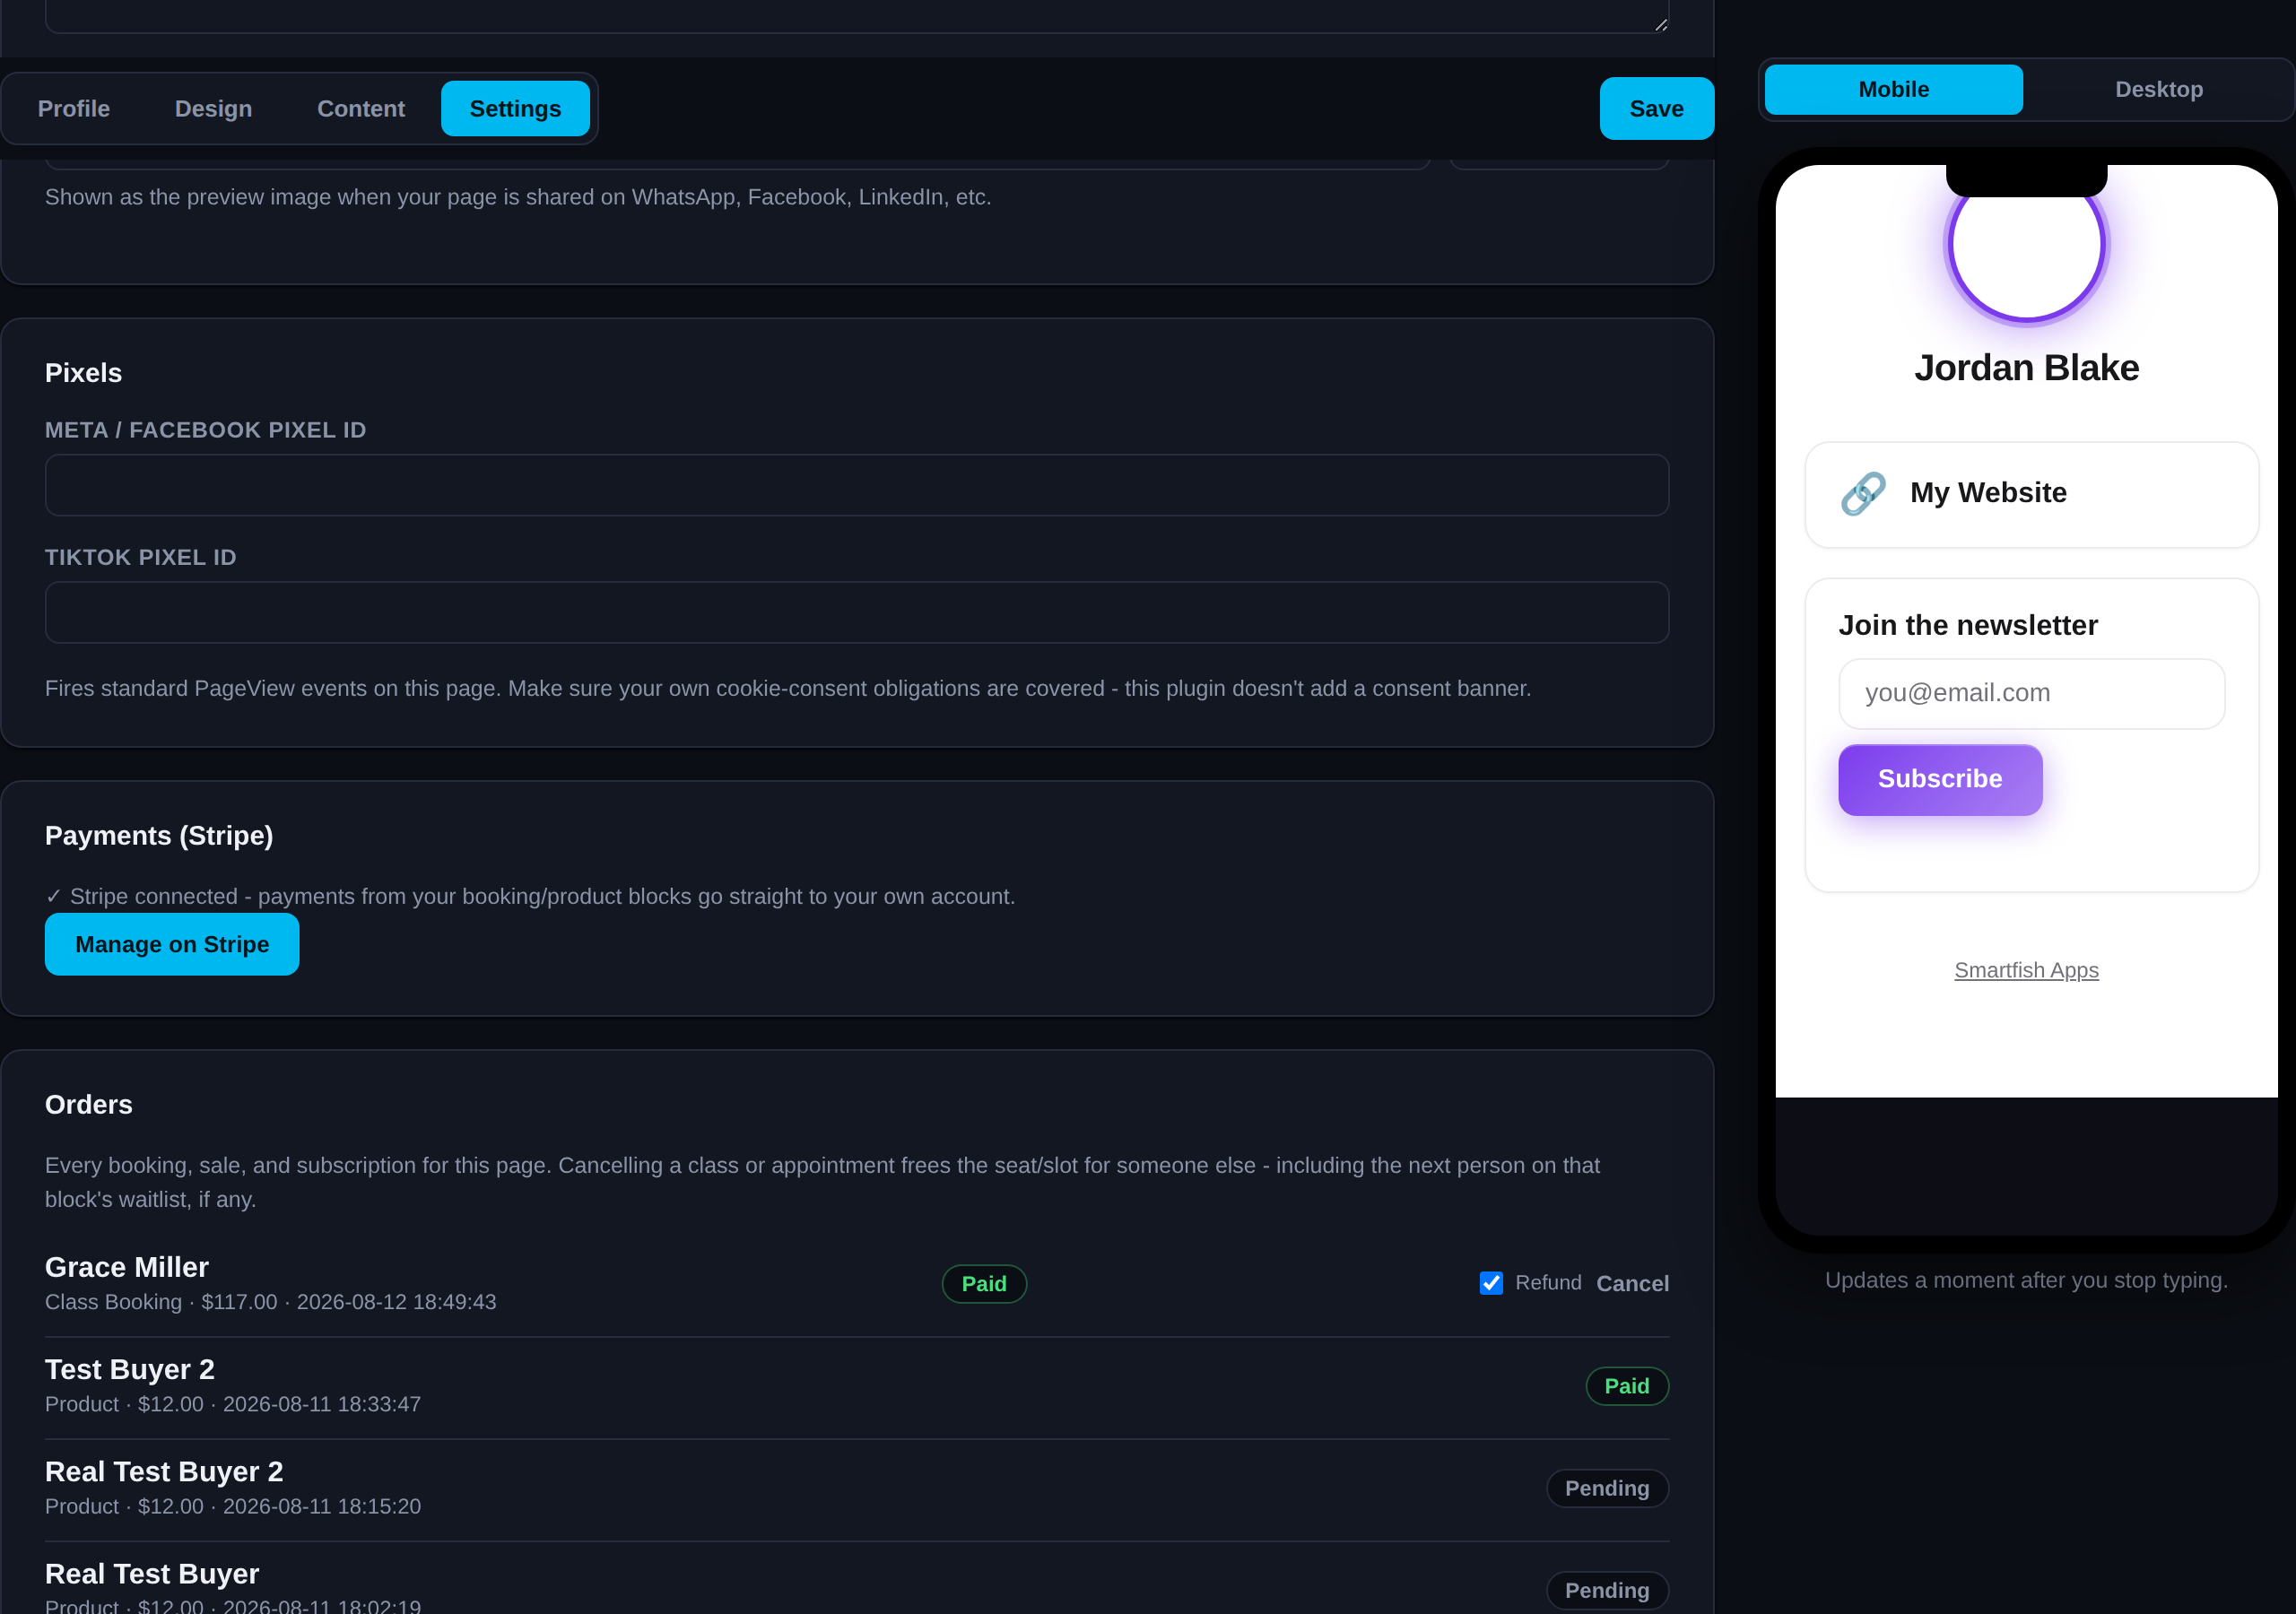
Under Settings → Orders: every booking and sale for this page, with buyer, amount, and status. For a paid Class or Appointment, click Cancel (with an optional refund checkbox) to free the seat/slot for someone else.
Subscriptions
Add a Subscription block, write the members-only content, and set a recurring price. A buyer's access follows their subscription status automatically - it turns off the moment they cancel or a payment fails.
Locked Downloads
Add a Digital Download or Discord Invite block, turn on "Lock behind payment," and set a price - it unlocks automatically the moment payment clears, no manual approval step.
Get Paid Directly
Under Settings → Payments, click Connect Stripe and finish Stripe's own guided setup once. Every sale from any paid block then lands straight in your own bank account - Smartfish never touches the money or takes a cut.
Leads
Lead Capture 2.0
Add a Lead Form block. By default it just asks for email - add "Extra Fields" (one per line, e.g. "Phone|tel") to ask for more. Every submission also records which link or campaign brought them in.
CRM Webhook
Already run Zapier, Make, or n8n? Paste your webhook URL into Settings → CRM Integration and every new lead posts there too, automatically signed so you can verify it really came from Smartfish. Entirely optional - the built-in CRM works with or without it.
Analytics, SEO & Domain
Built-in Analytics
Under Settings → Insights: page views and block clicks for the last 30 days, updated automatically - nothing to install or configure.
SEO Controls
Under Settings → SEO, set a custom page title, description, and share image - leave any of them blank to fall back to your name and bio automatically.
Custom Domain
Under Settings → Custom Domain, enter yourname.com and point its DNS at the record shown. Once DNS is verified, SSL is issued and the domain goes live automatically - no separate hosting step.